Work Page 11-25
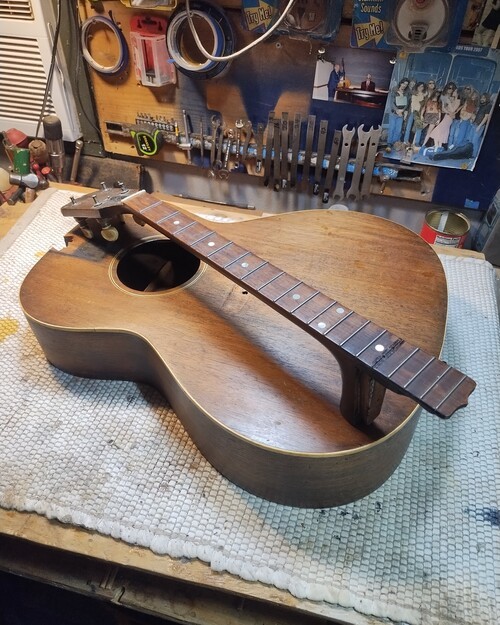
1930s Gibson (unbranded) TG-0
Circa 1930
To better understand early unbranded Gibson offerings go to this excellent reference page:
https://guitarhq.com/gibson6.html
https://guitarhq.com/gibson6.html
14.75" lower bout
X braced
14 frets to the body
Adjustable truss
All mahogany
Bound W/B/W sound-hole
Bound back, white binding
Grover 2 tab banjo pegs
*****************************************
This is my guitar, given to me as a gift from a good friend.
So I will do what is needed to make it play well, in any fashion I see fit.
Many "non traditional" methods and repair compounds will be used to do so.
I want it to be able to play as well as possible, considering the condition in which it came to me.
And I want that to happen in a reasonable amount of time.
This is not a lesson is Trad repair, I want to be clear about that.
Not everything is worth that much time/effort/expense.
Now that we are clear on all of that...
There is also the REMOTE possibility, that it was an "employee made" instrument, having no FON/Serial Number.
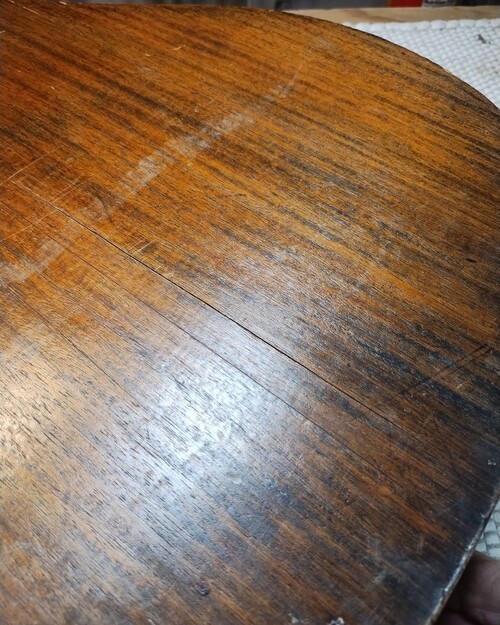
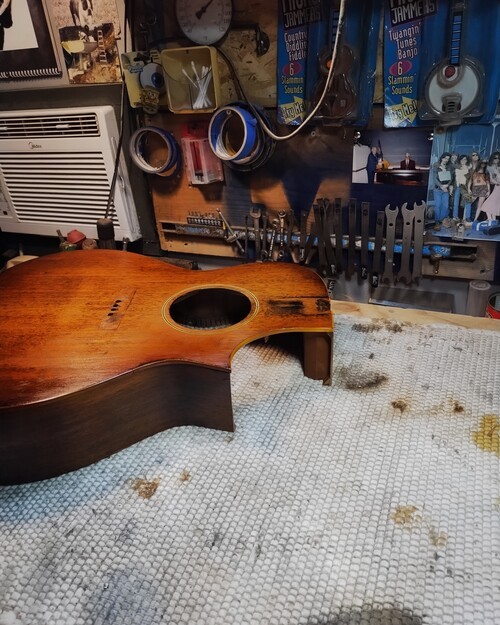
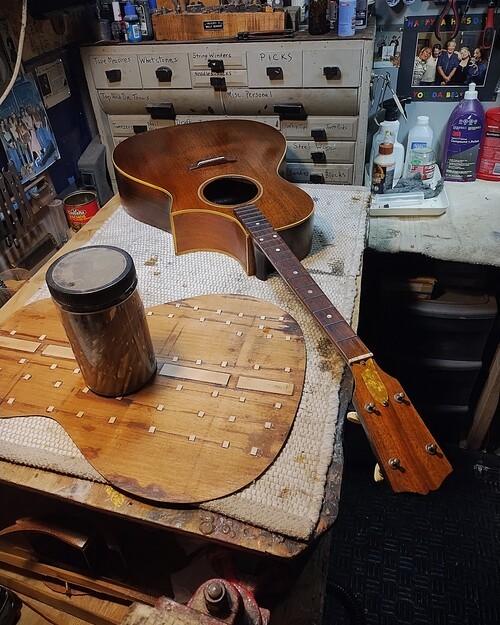
INITIAL PICS
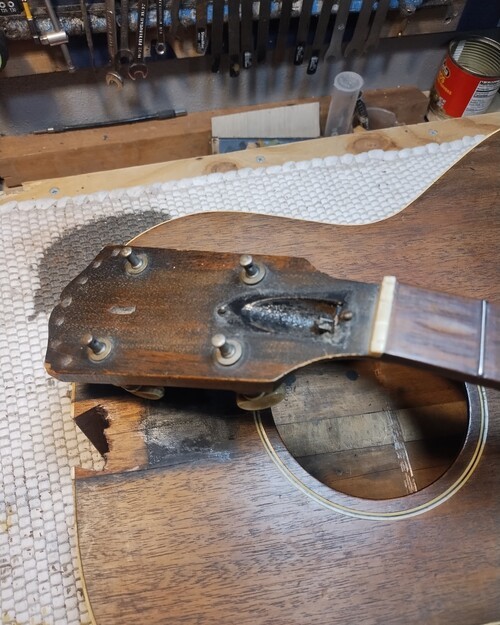
No perghead overlay, had stones or something.
Small cracking over neck block.
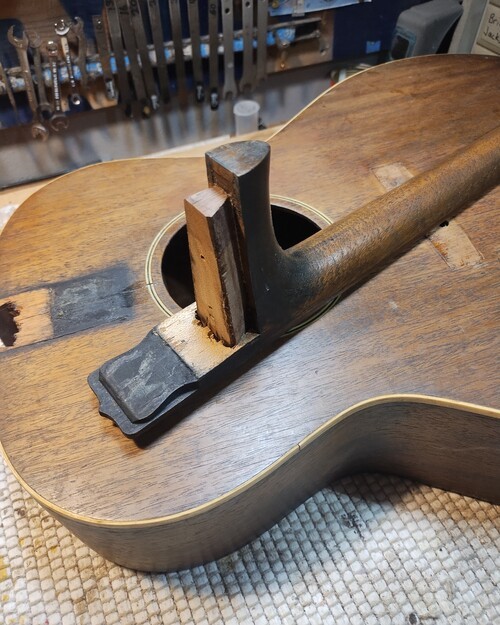
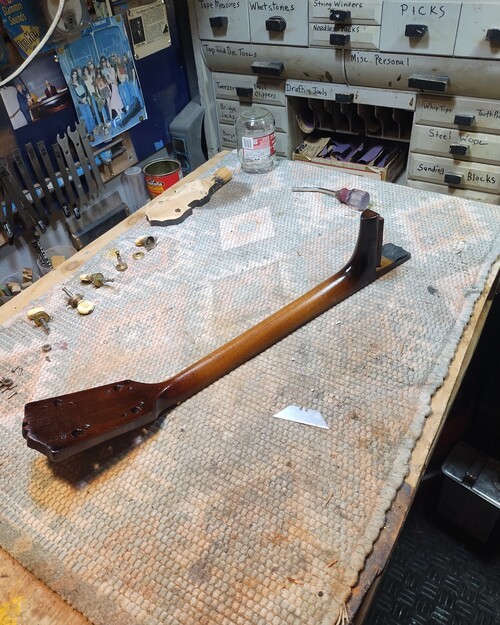
Decent steam job to remove neck.
Some have cupping from being open a long time.
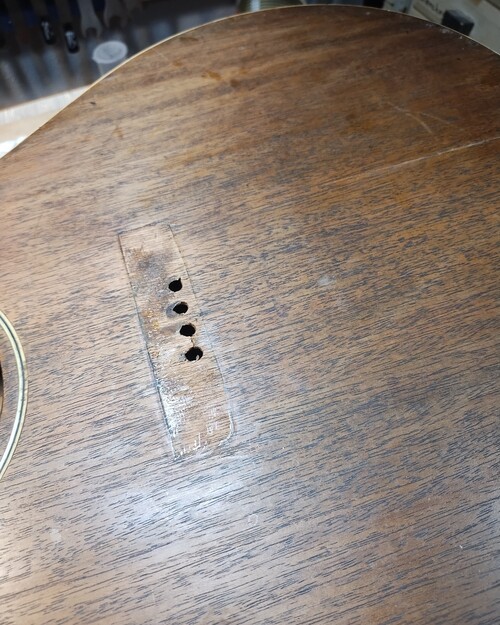
Rectangle bridge was 1930.
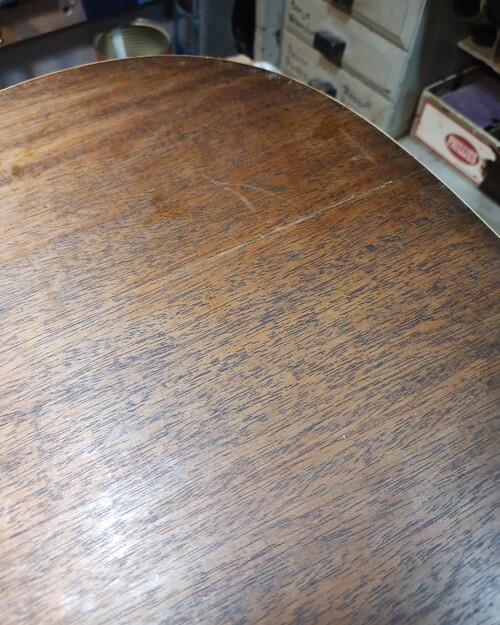
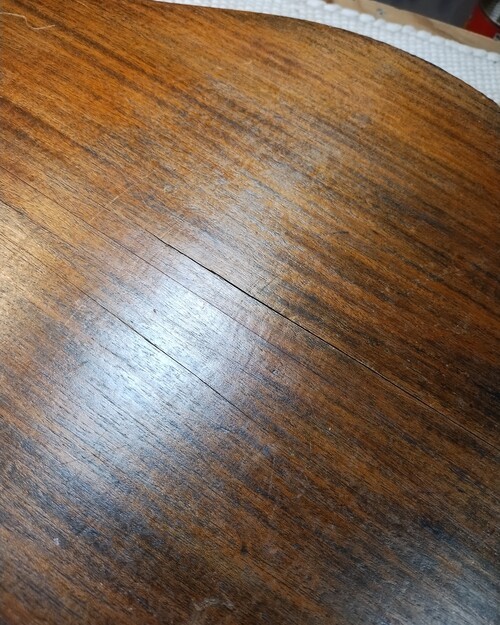
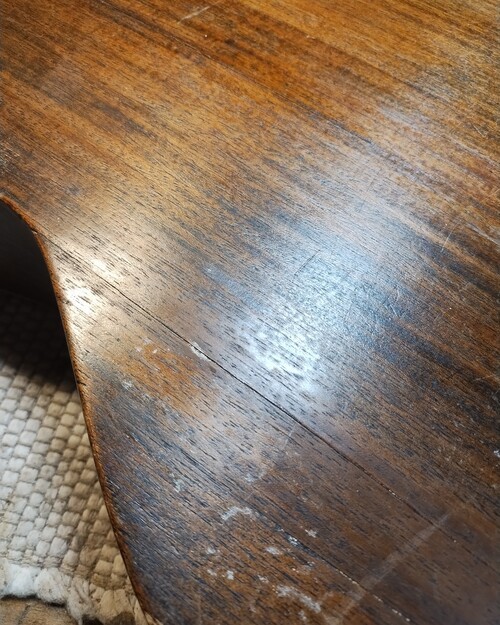
Numerous back cracks.
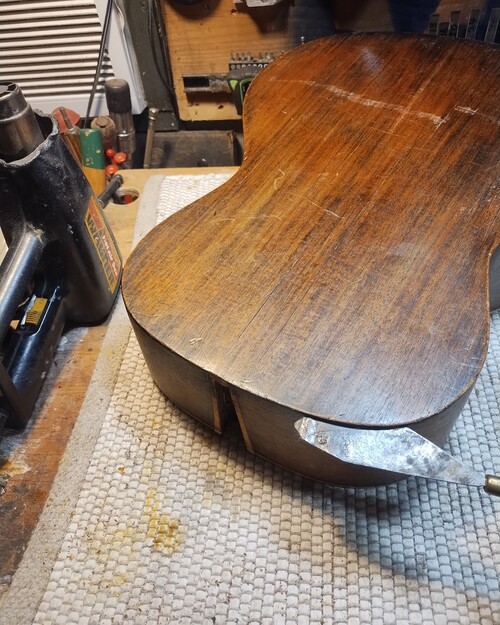
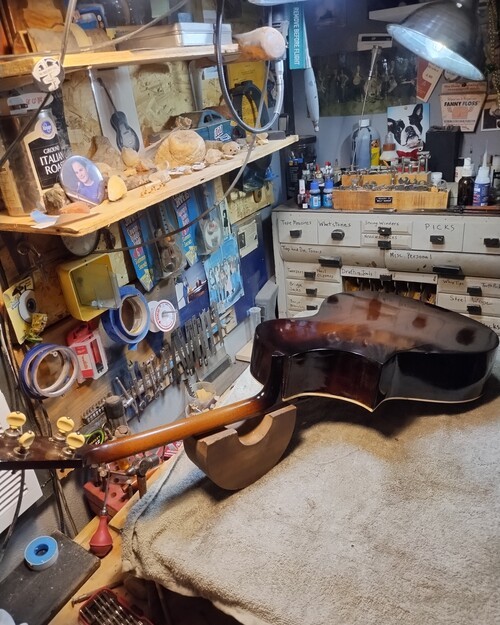
Repair Sequence #1
Back Removal
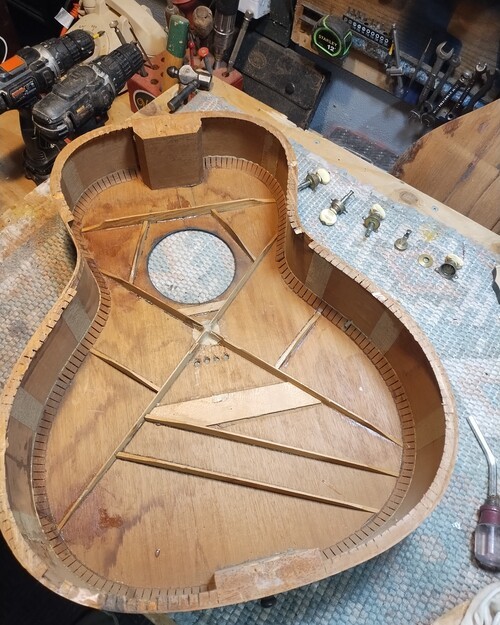
Since it has already been removed in the past, and since the top is x braced, this is the most prudent entry point to save the top which is in far better condition.
So some gentle heat and off we go.
Back Removal
Since it has already been removed in the past, and since the top is x braced, this is the most prudent entry point to save the top which is in far better condition.
So some gentle heat and off we go.
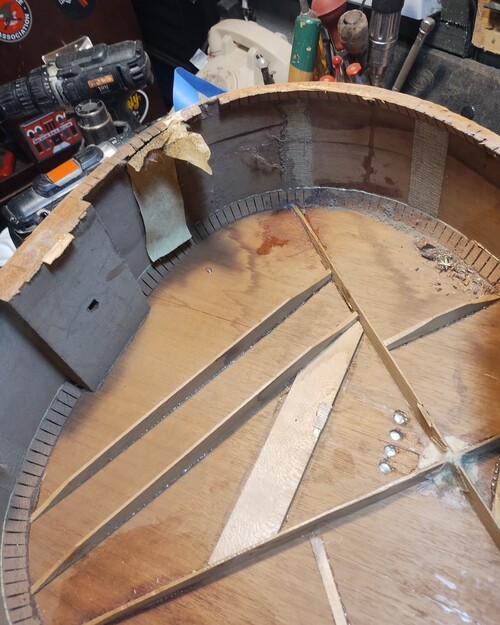
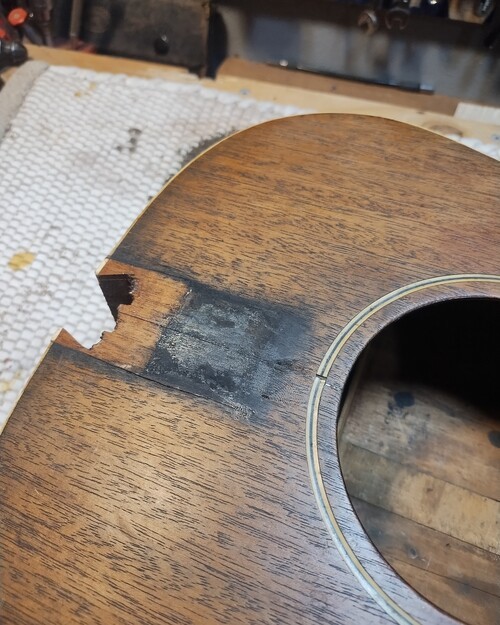
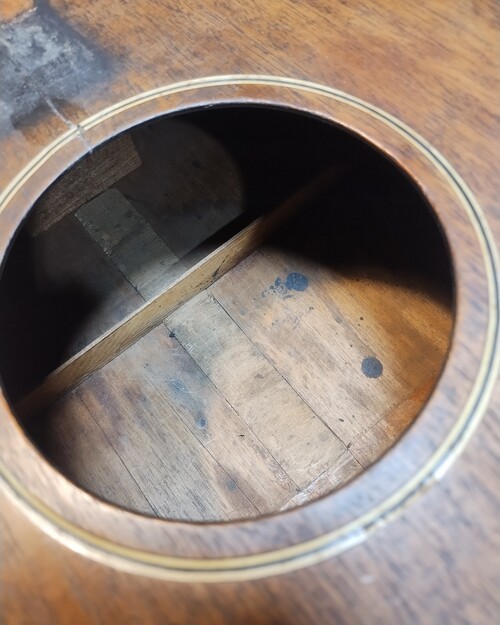
The piece of masking tape repair, did not.
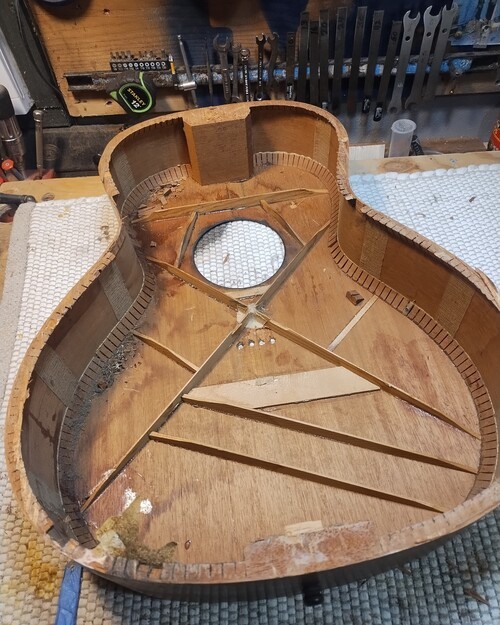
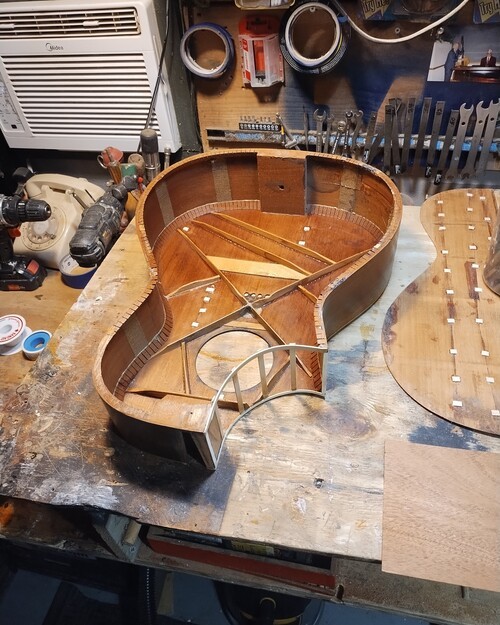
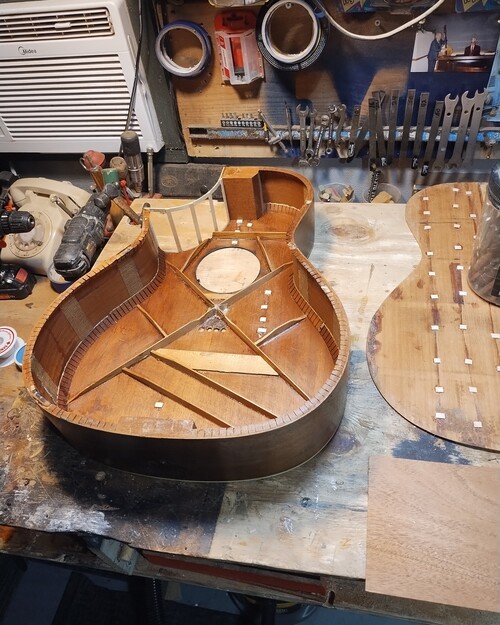
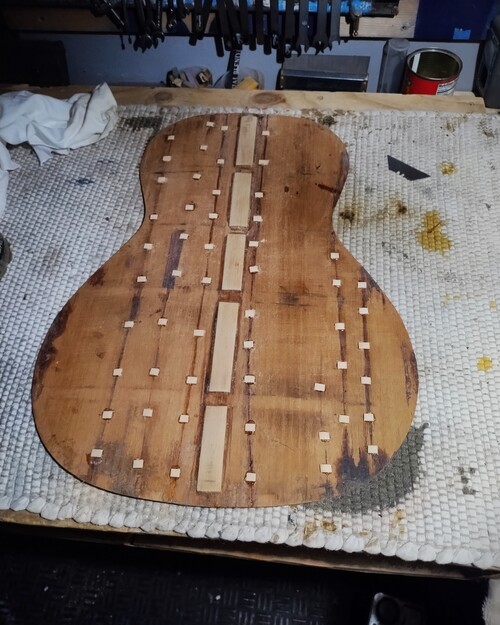
What we really have, with no braces.
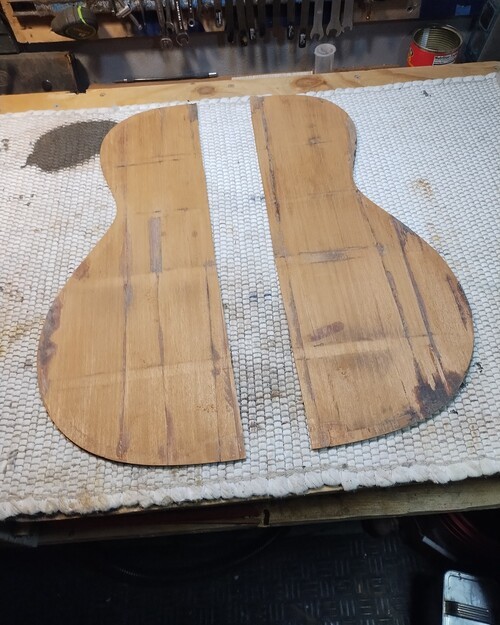
Shaping and filling and leveling.
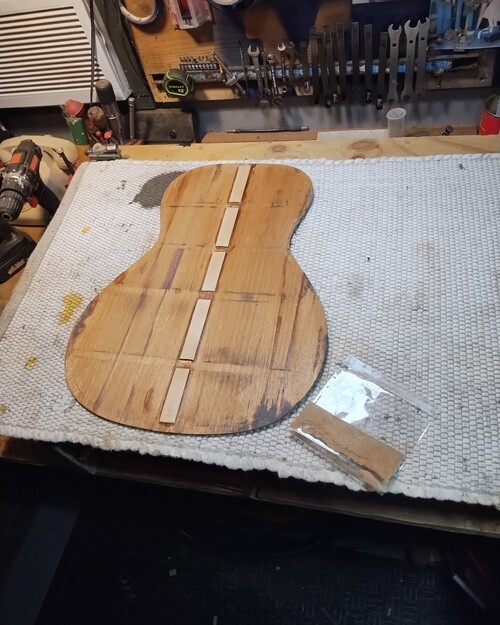
All back in place.
Adding side markers-3/32"
Repaired one brace, now for some cleats.
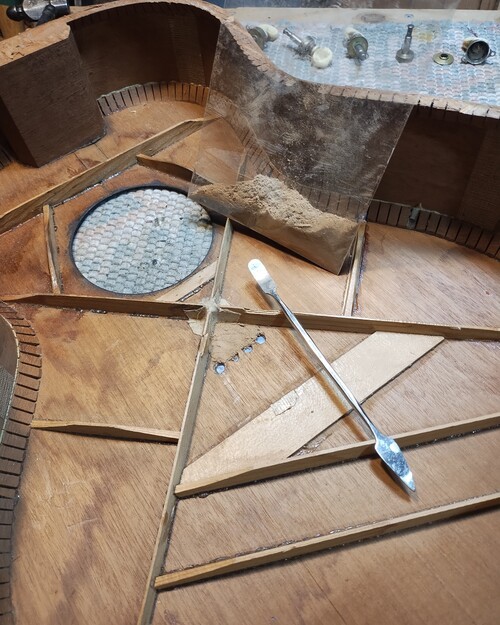
Dust and CA for missing wood by bridge holes.
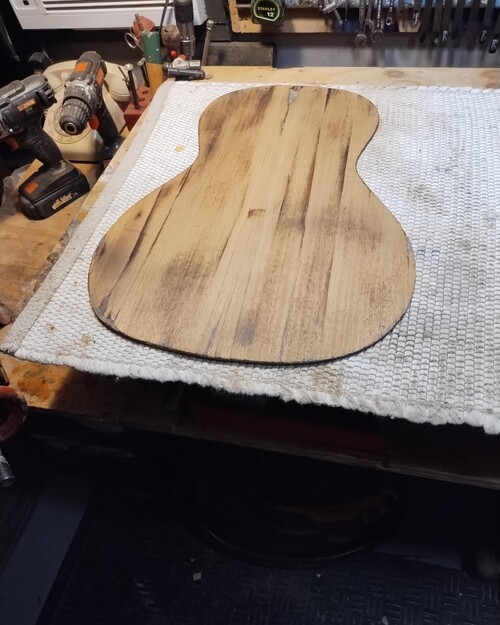
Wetsanded and polished
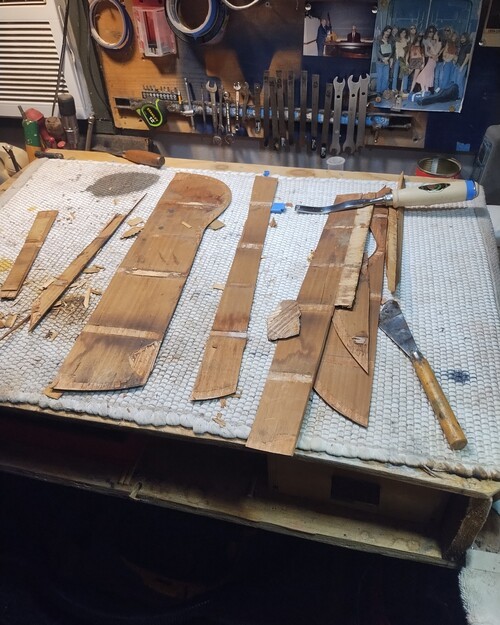
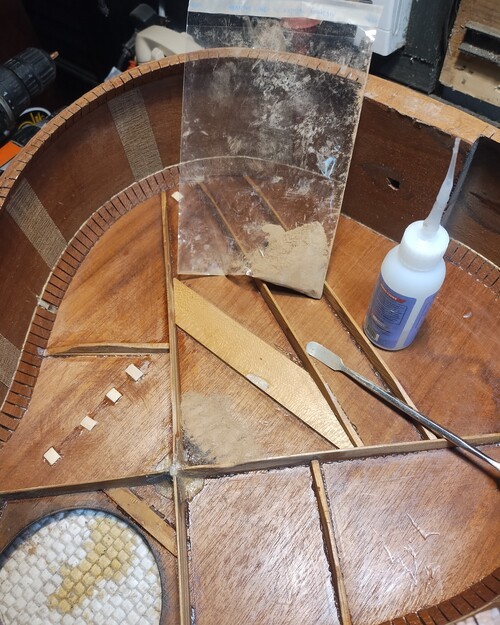
Several crude repairs were done in the past
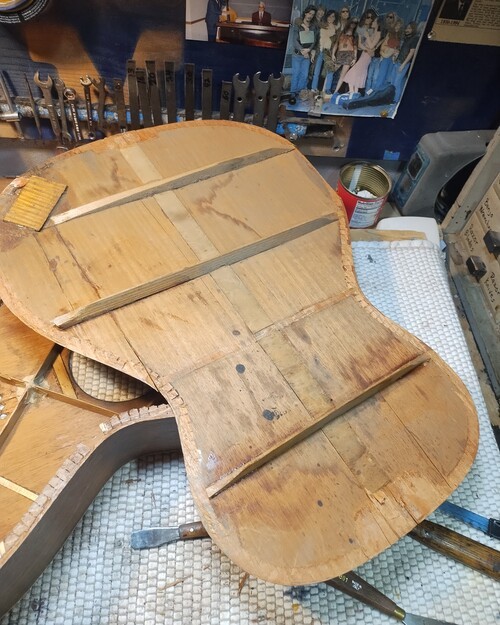
broken and missing braces, crude maple repair.
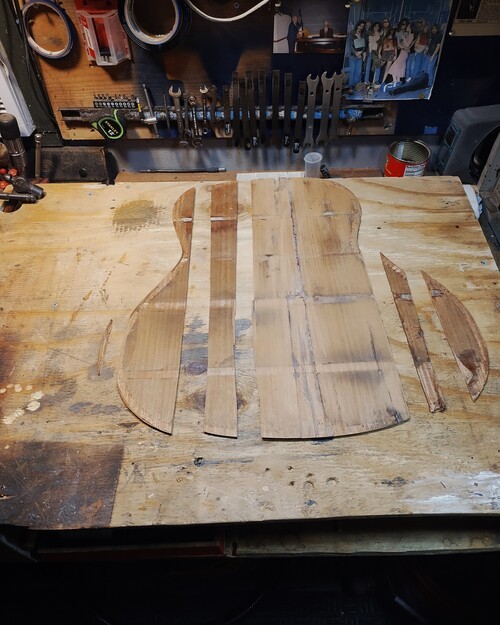
Now to make it all one again.
Center wood removed, ready for new sections.
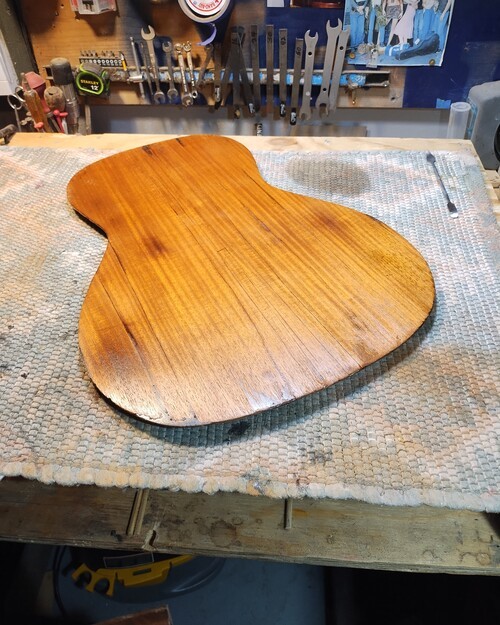
Back semi-leveled.
Back tio the finish that it had previously.
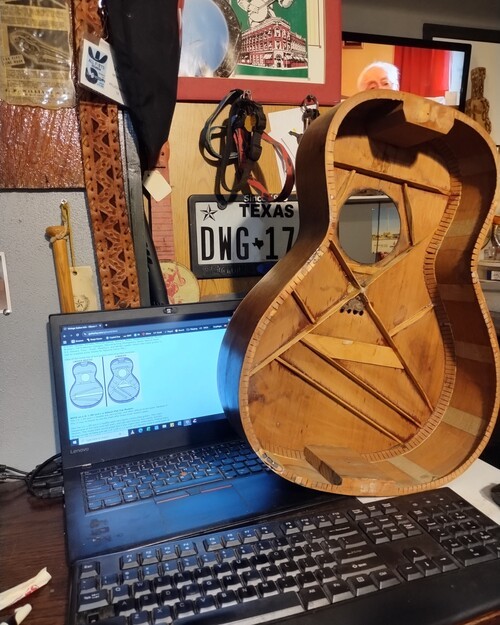
Kerfing repaired. L-0 bracing in diagram.
I will make a truss cover.

Rib repairs on the bass side, holding well.
Alot of damaged kerfing from non-trad glue usage.

Mahogany dust and CA for filler.

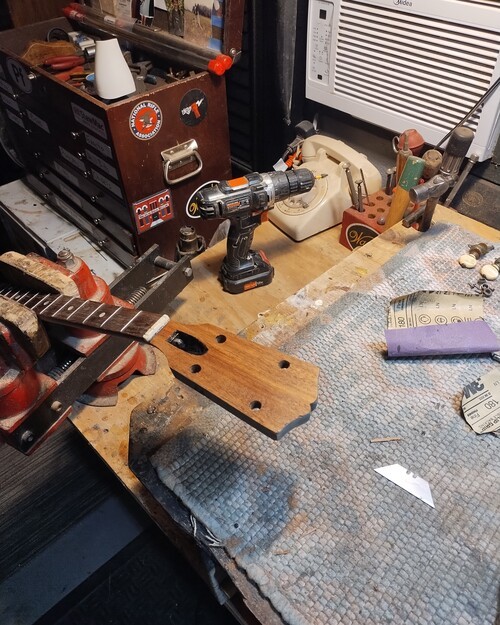
Measuring the cuts.
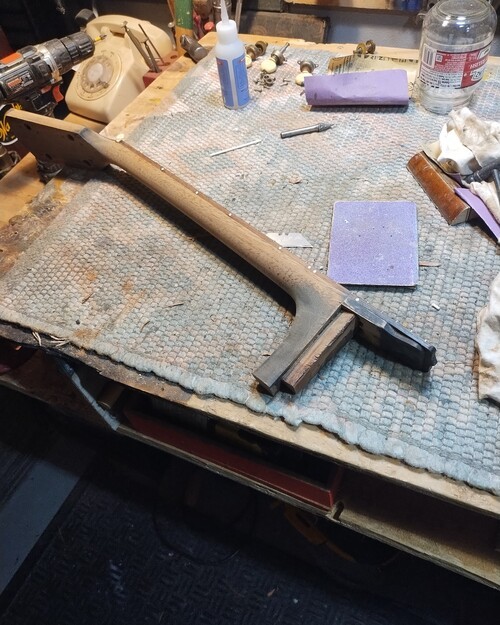
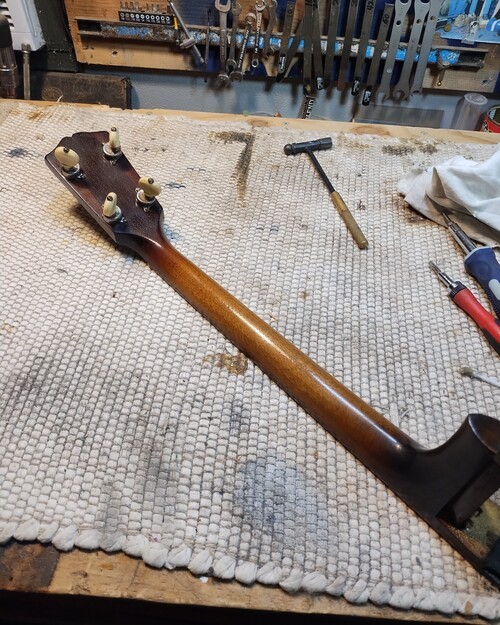
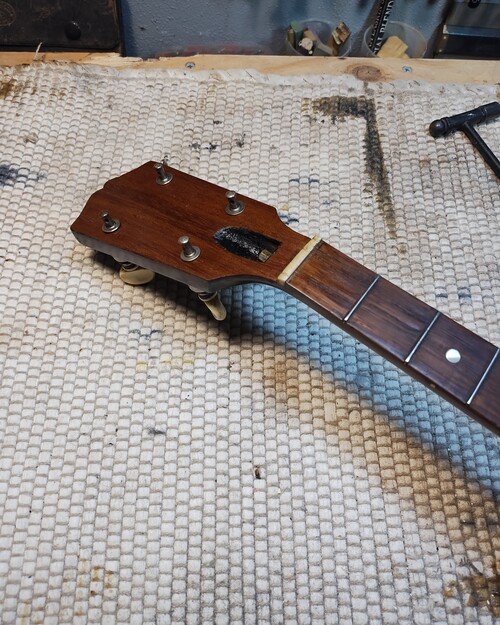
New peghead overlay installed.
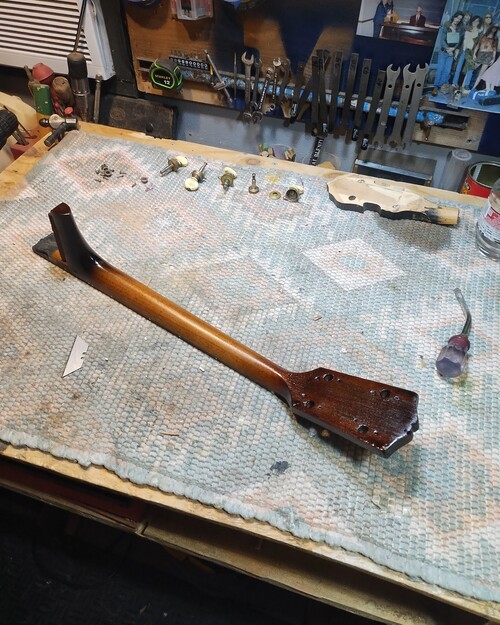
All braces re-sealed
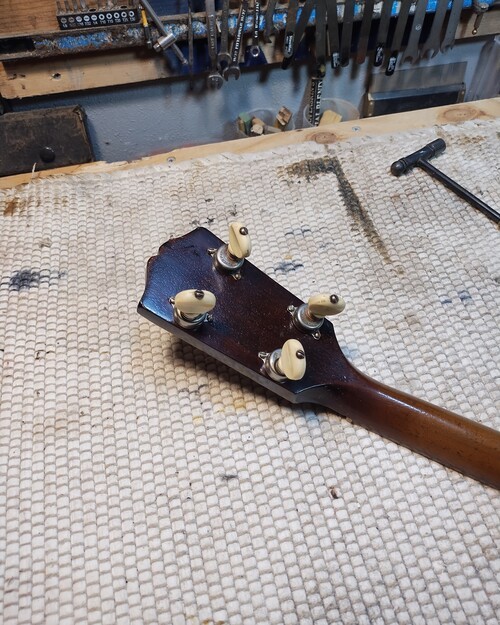
neck finish completed, Pegs installed.
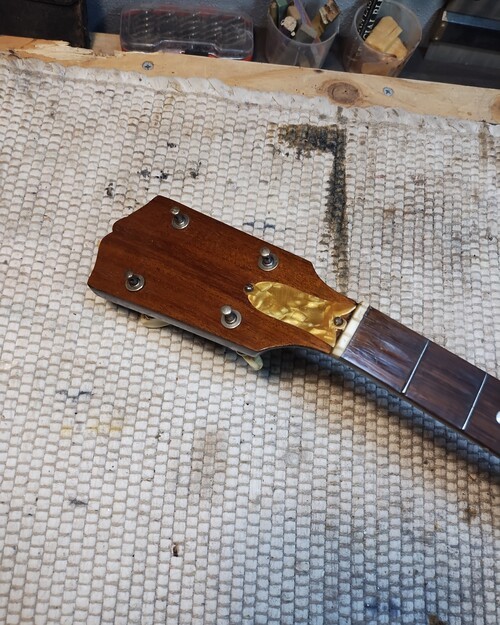
I chose gold perloid.
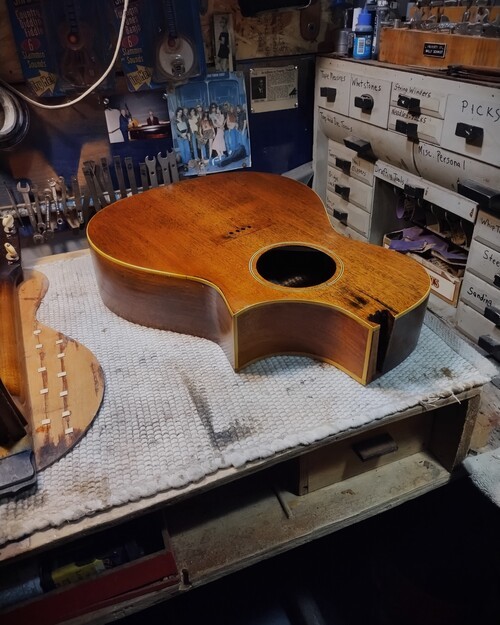
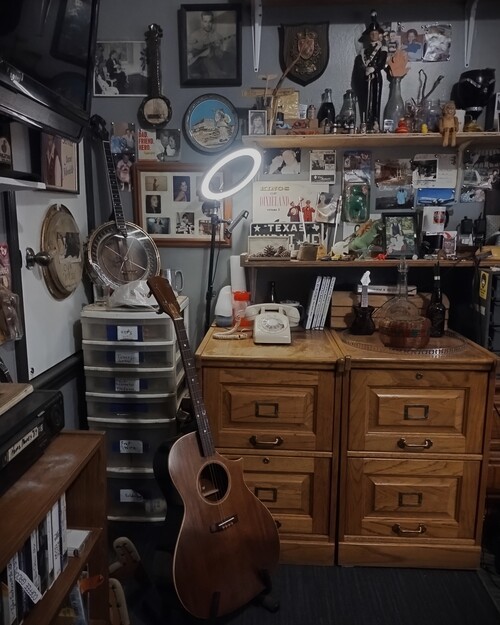
Sequence #2
Body style change
I decided I wanted to make this body a right hand cutaway.
I will call it the TGC-0 going forward.
I have done them in the past, but this will be the first flat top.
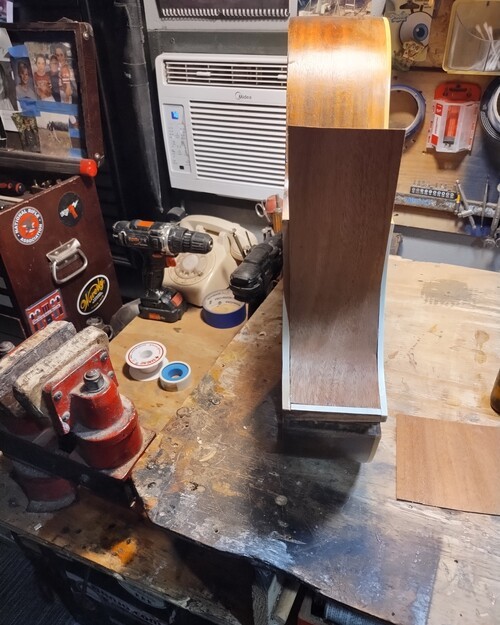
So I will make the initial cut against the neck block without cutting in to it to see how it feels.
I ran some binding and a little color just to take a look at it.
My process is always to seek out a balance for my eye and for the mechanical aspects.
Body style change
I decided I wanted to make this body a right hand cutaway.
I will call it the TGC-0 going forward.
I have done them in the past, but this will be the first flat top.
So I will make the initial cut against the neck block without cutting in to it to see how it feels.
I ran some binding and a little color just to take a look at it.
My process is always to seek out a balance for my eye and for the mechanical aspects.
The Point... of no return.
I think I might like it
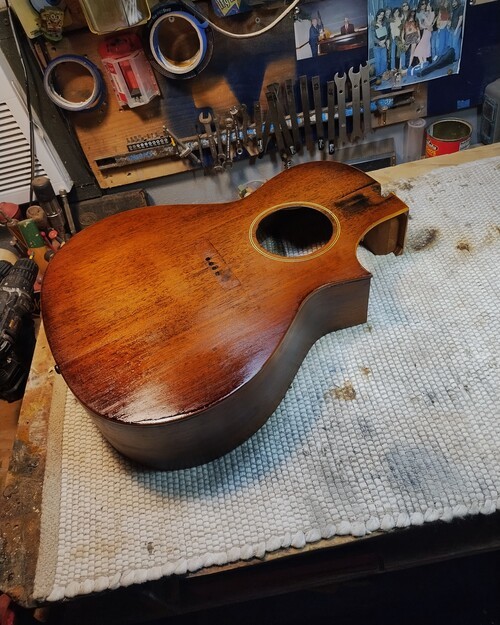
Binding installed and tint added.
I will do some more as time permits.
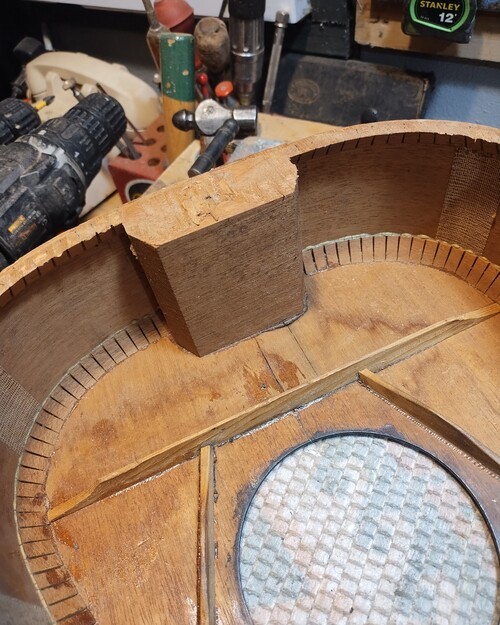
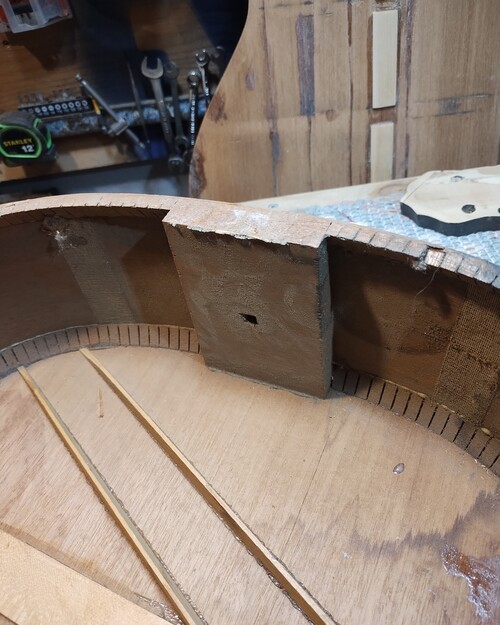
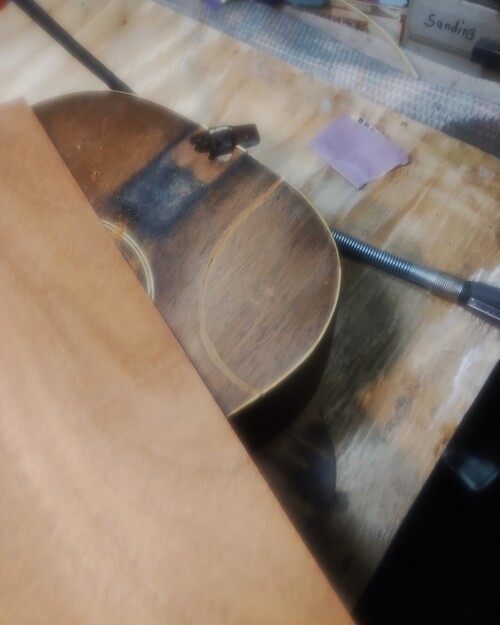
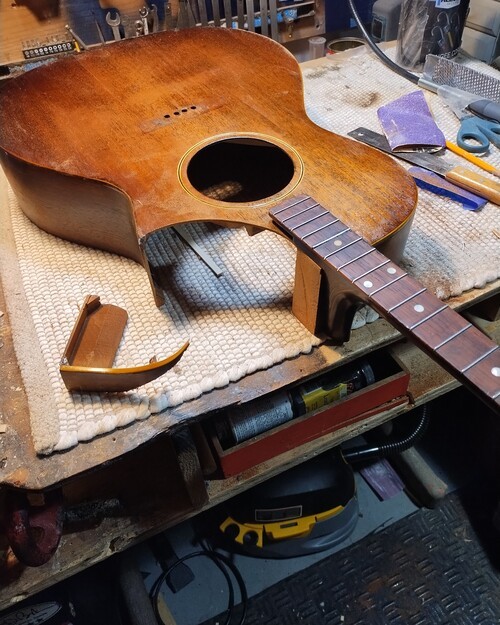
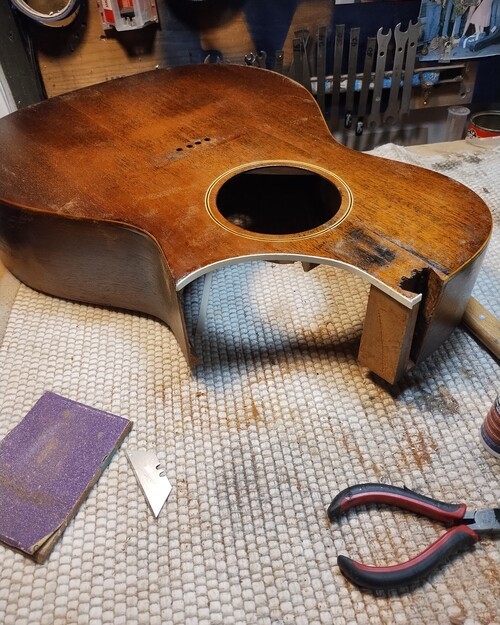
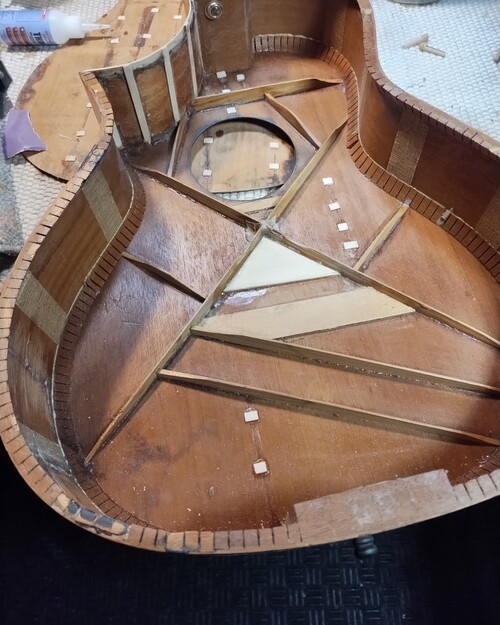
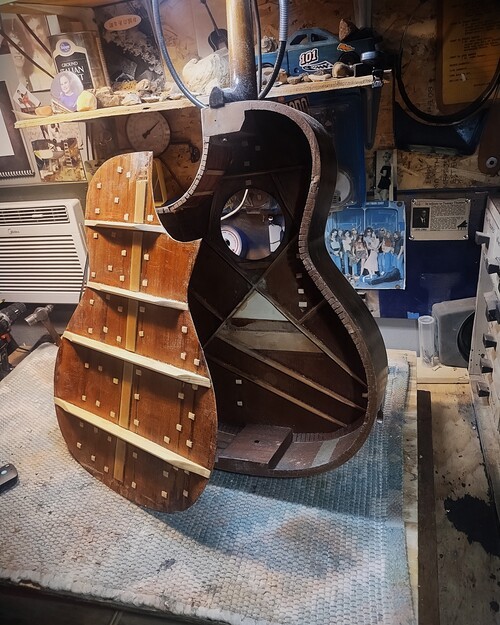
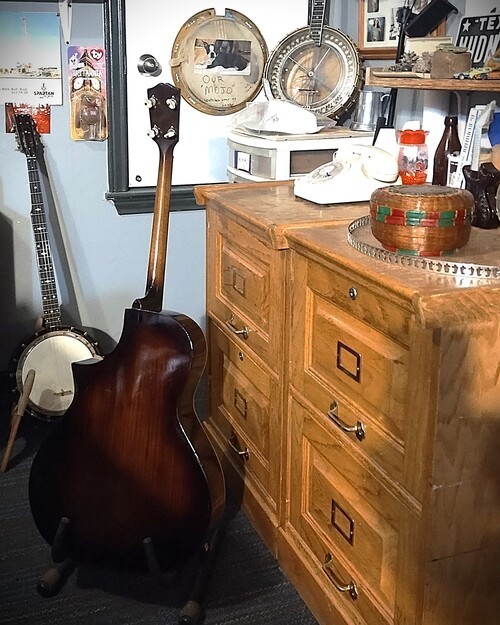
RE-CUT BODY #2
I did not like the feel of it after I got that far so I changed it.
Now it is more comfortable and I only lost a small part of the neck block.
I then built up the binding first to have the profile for the rib veneer.
I used basswood for the other bracing and tied the veneer into them.
I did not like the feel of it after I got that far so I changed it.
Now it is more comfortable and I only lost a small part of the neck block.
I then built up the binding first to have the profile for the rib veneer.
I used basswood for the other bracing and tied the veneer into them.
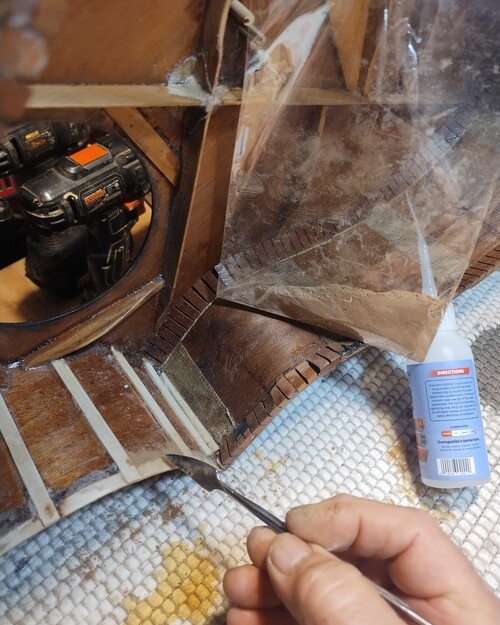
That is the additional sectioning.
Inside all sealed with nitro, 1 coat.
Veneer is tight to the ribbing, good to go.
Binding installed for the margin.
Shaping the mahogany veneer.
It is starting to appeal to me now.
Ribbing and cleating completed.
Back to applying finish.
Sequence #3
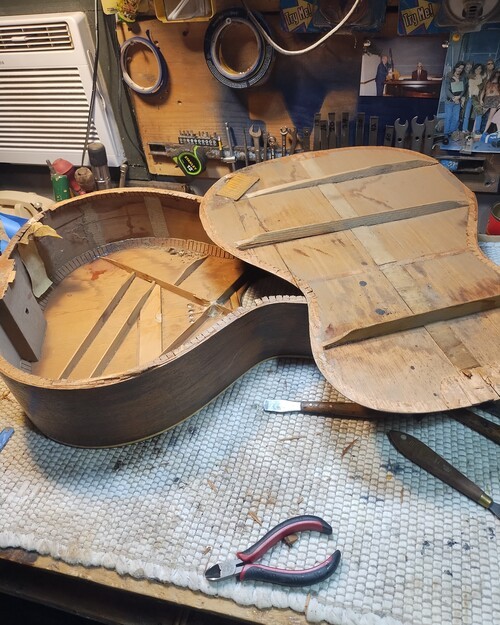
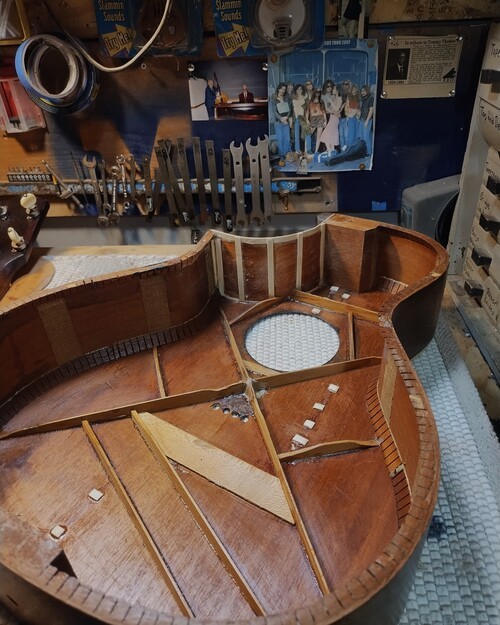
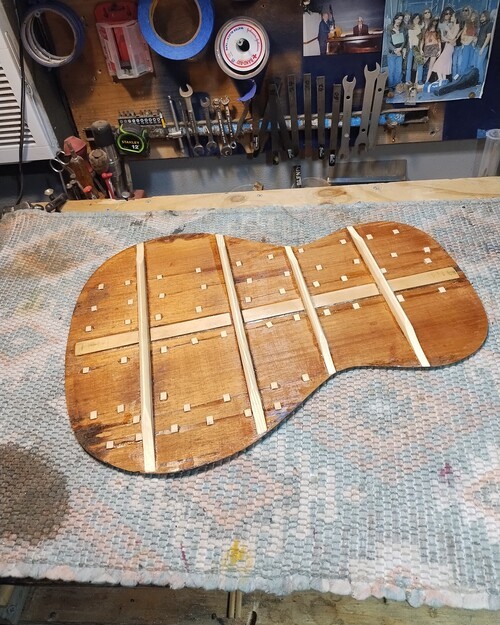
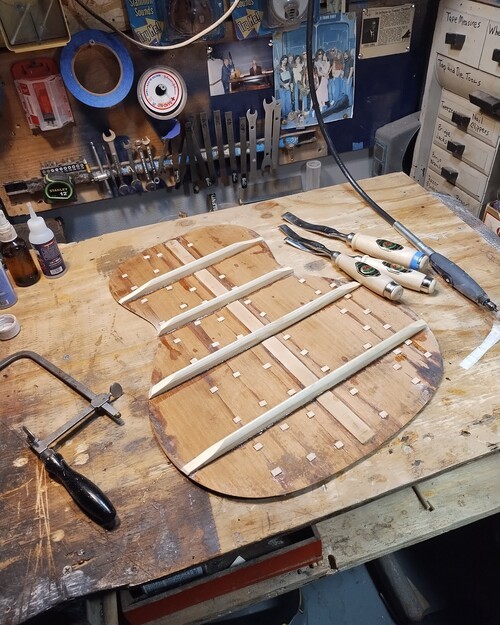
Back cleats and bracing
Moving to the back again, I have cleated the cracks and will next make the braces from spruce.
Back cleats and bracing
Moving to the back again, I have cleated the cracks and will next make the braces from spruce.
All spruce cleating on all cracks.
Back is now sealed - 1 coat nirto.
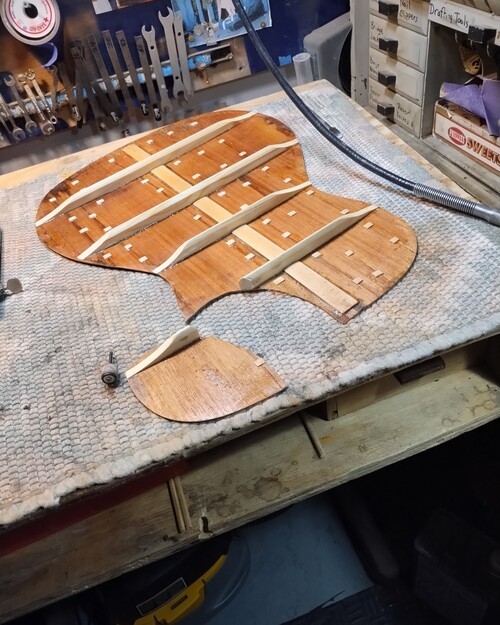
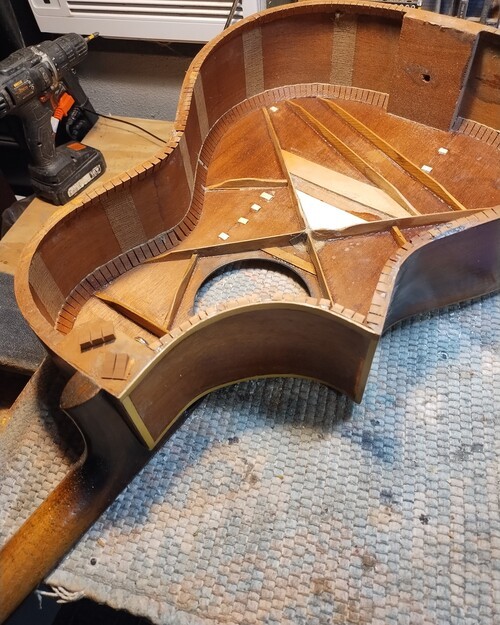
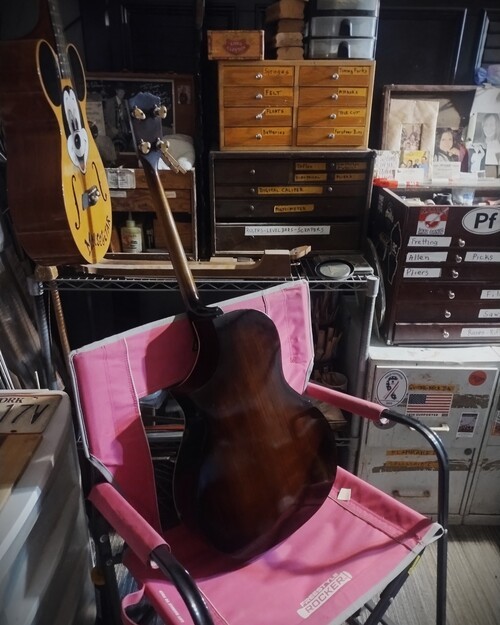
Now for the cutaway.
Will stop there and work the final neck geometry.
Adding wood flour and CA to form a ridge for initial support.

Now for the new back bracing. Arched on the bottom, as is the original.
Afer block sanding, much smoother
New kerfing in the cut.
Let's another section of bridge plate.
Glued, working the ends down.
Longitudinal grain appears as cracking.
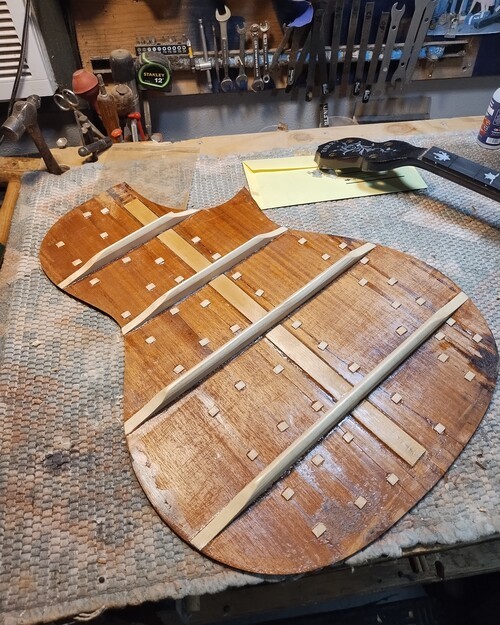
Final brace shaping complete.
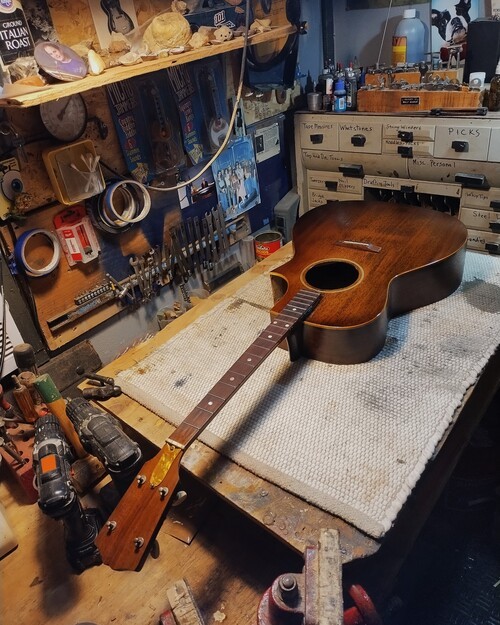
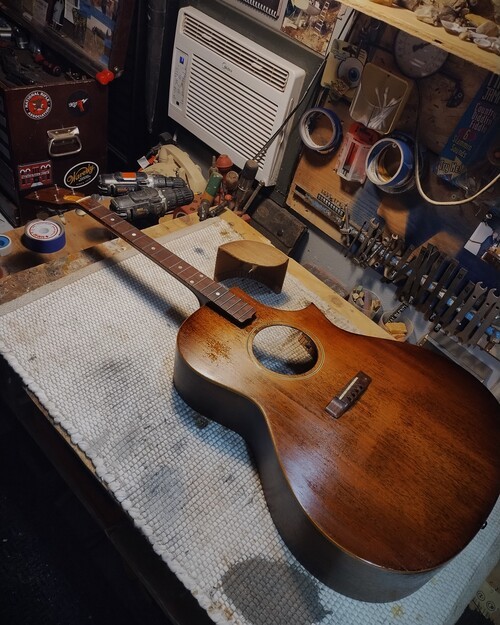
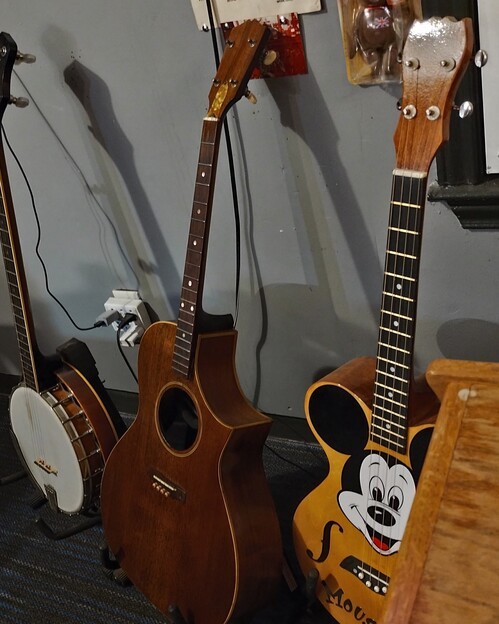
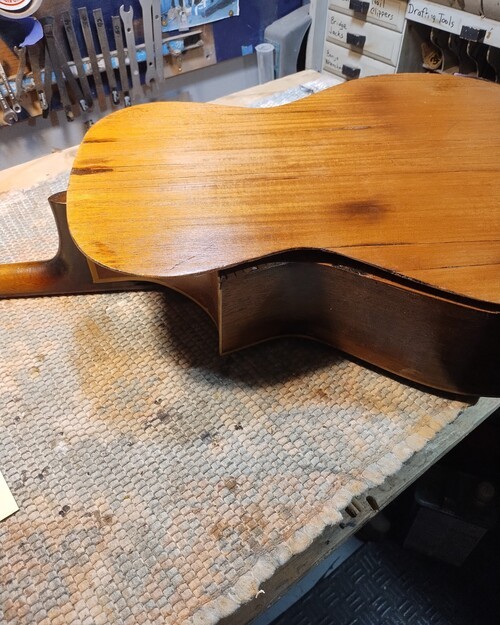
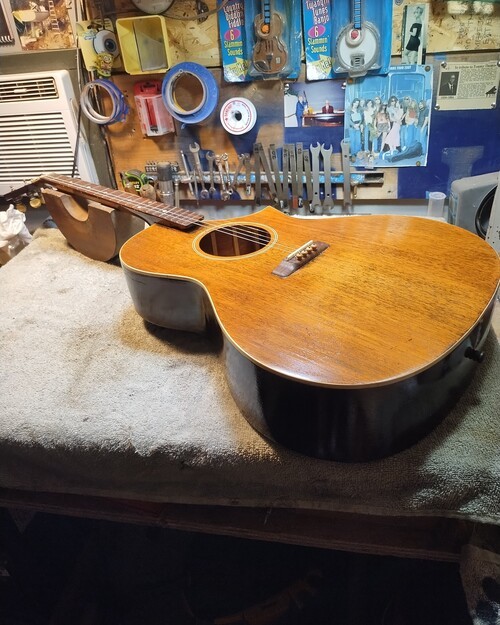
Final Sequence
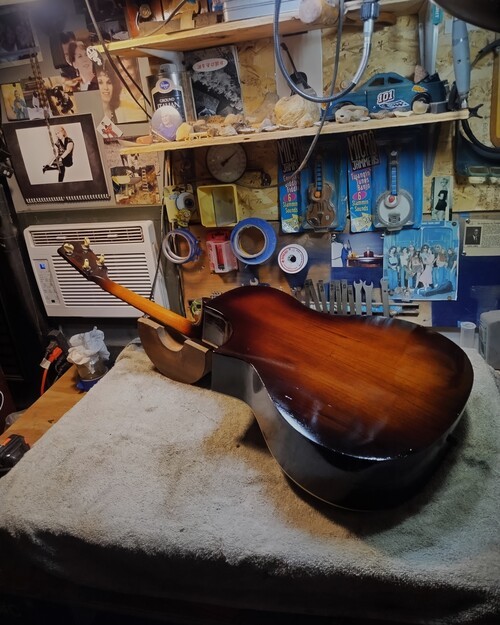
I did not take pics of me installing the back re-setting the neck, final finish work.
But by the pics, you can tell that I did those things :)
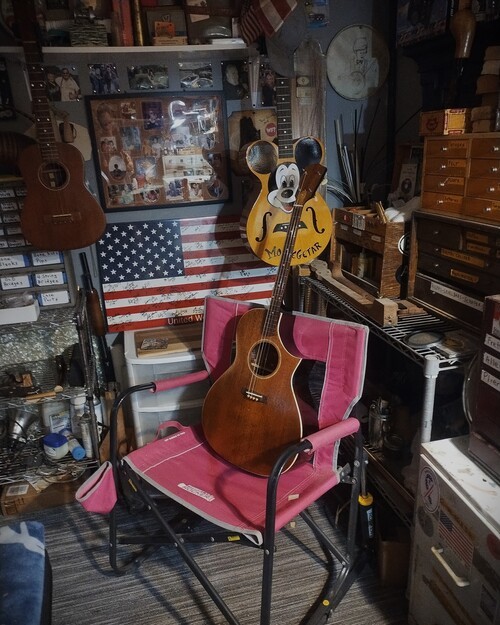
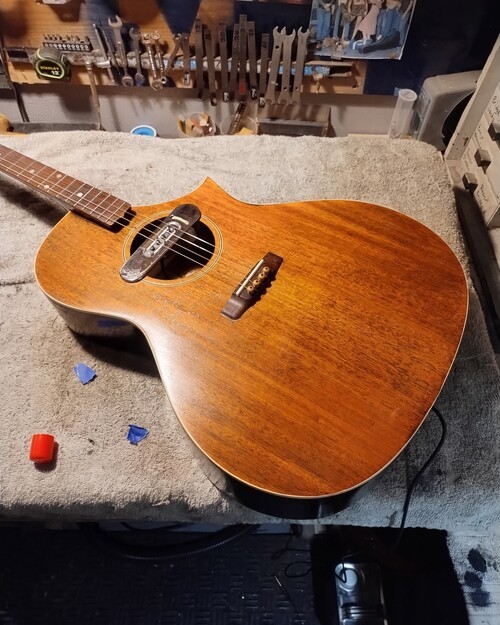
I set it up on a new bone saddle and installed new bridge pins, Strung it with 30-24-14-10 and tuned it to pitch.
VG action, plays as it should up and down.
Quite pleased with the outcome.
Now to let it settle in and see if I need to tweak it,
Since it is cooling off here I will wait a month before I do any polishing/waxing on it.
It is nice to finally have a TG again, and one that will stay with me this time.
Thanks Paul, it was a cool gift and a fun project.
I did not take pics of me installing the back re-setting the neck, final finish work.
But by the pics, you can tell that I did those things :)
I set it up on a new bone saddle and installed new bridge pins, Strung it with 30-24-14-10 and tuned it to pitch.
VG action, plays as it should up and down.
Quite pleased with the outcome.
Now to let it settle in and see if I need to tweak it,
Since it is cooling off here I will wait a month before I do any polishing/waxing on it.
It is nice to finally have a TG again, and one that will stay with me this time.
Thanks Paul, it was a cool gift and a fun project.
11-21
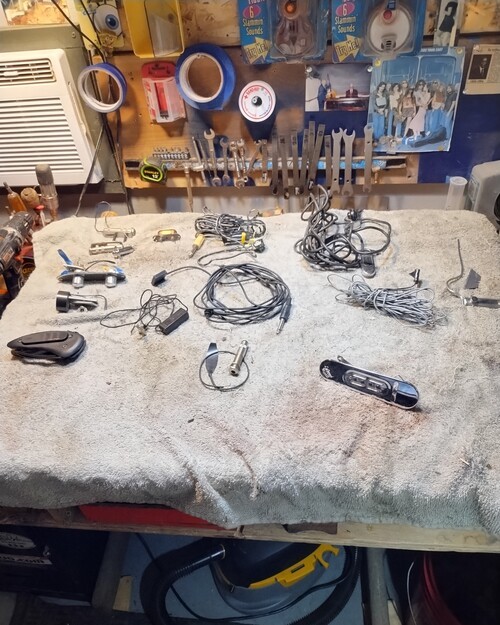
Adding electrics.
I went through all of my old pickups from people like Paul B. and Mike S. that I have accumulated over the years.
It all , it possible, gets put to use.
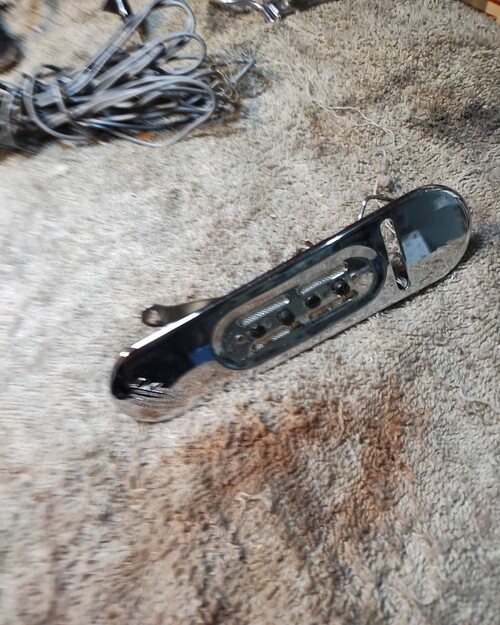
And for my guitar I will repair a vintage De Armond that is made to go into a sound hole.
It needs some wiring, a new volume knob and a new input cord.
That is about it, short and sweet.
Adding electrics.
I went through all of my old pickups from people like Paul B. and Mike S. that I have accumulated over the years.
It all , it possible, gets put to use.
And for my guitar I will repair a vintage De Armond that is made to go into a sound hole.
It needs some wiring, a new volume knob and a new input cord.
That is about it, short and sweet.

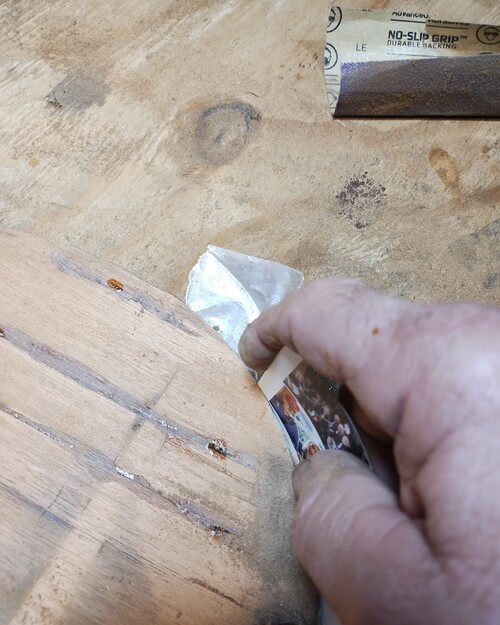
Challenge coin was the exact size I need

Added the old "D" adapter.
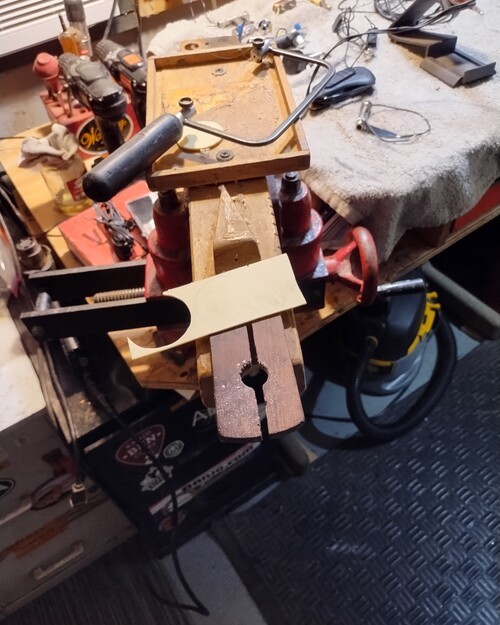
I will bond 2, for thickness.
Cord installed, through sound hole.
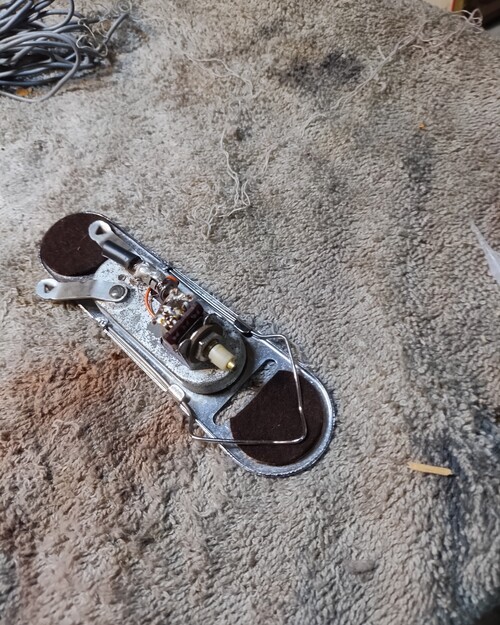
A very clever way of suspending in the sound hole
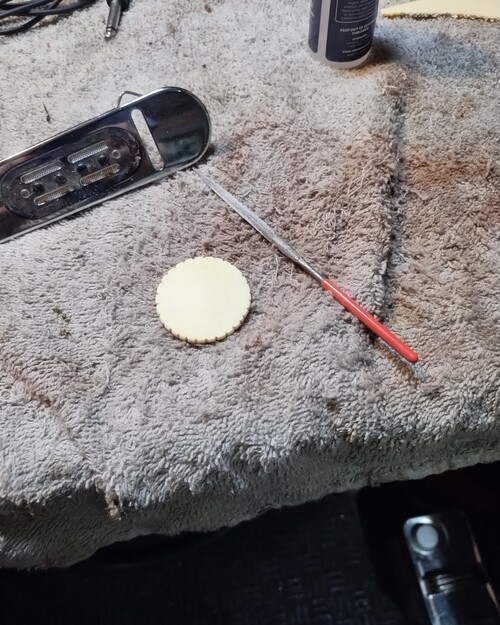
Cutting in some grooves.
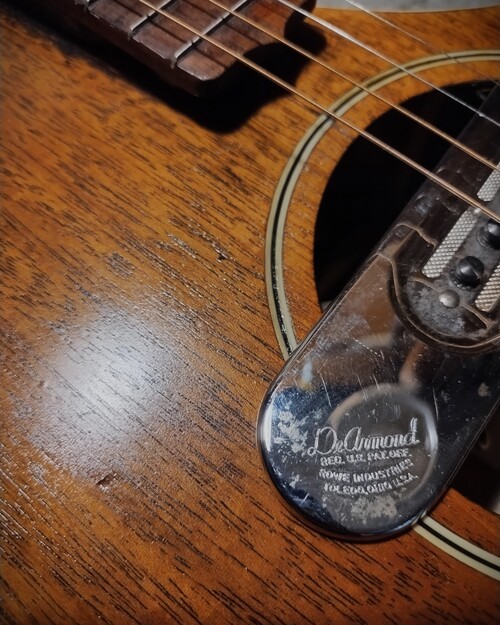
The tonal output was way better than I had hoped for.
Super clear and clean. no hum, a nice pure sound.
That is what I call the "luck of the draw"
Super clear and clean. no hum, a nice pure sound.
That is what I call the "luck of the draw"
Thanks for looking and sharing,
VM
VM