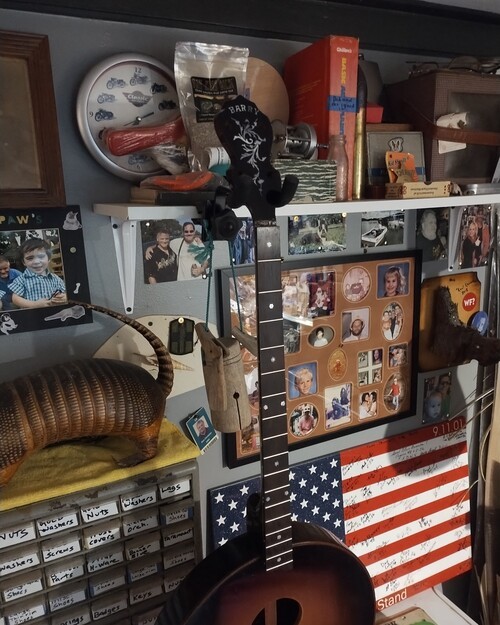
Work Page 10-25
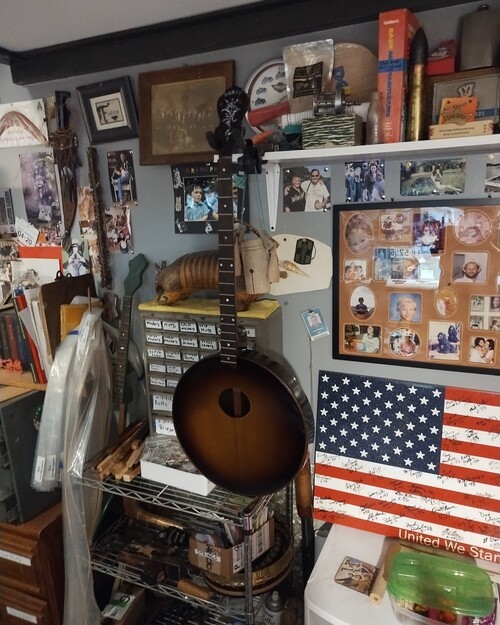
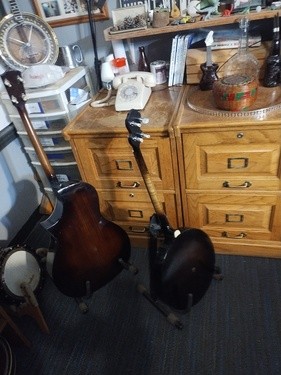
Round Tenor Guitar
For my friend Barry Grant
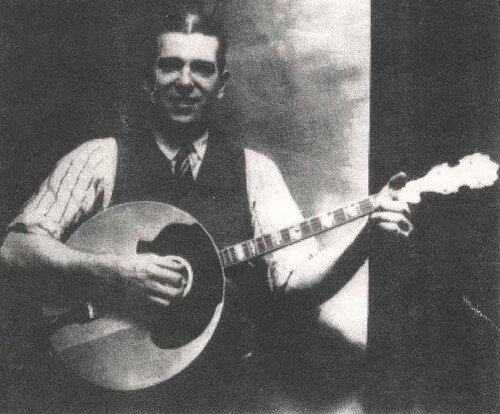
Round Tenor Guitars, nothing new .
They go back to the 1920's Examples shown above are Stromberg and Epiphone.
Made from off-the-shelf parts in my shop.
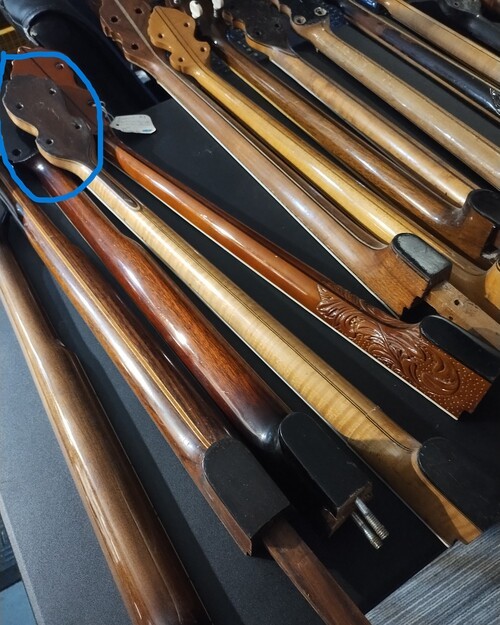
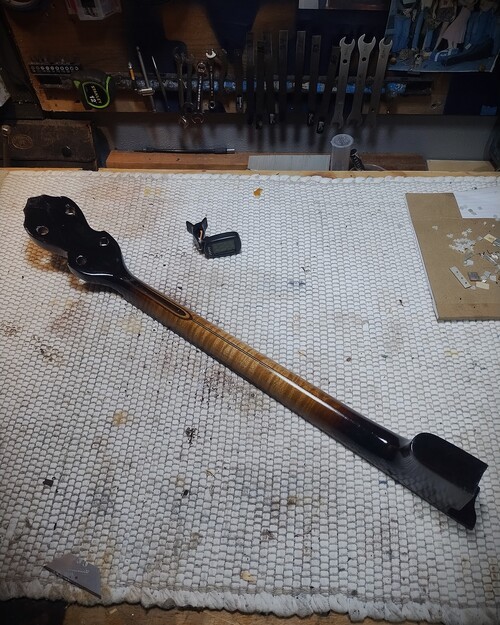
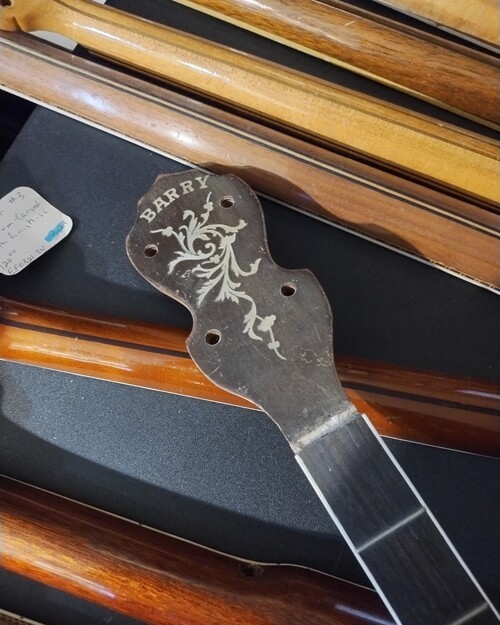
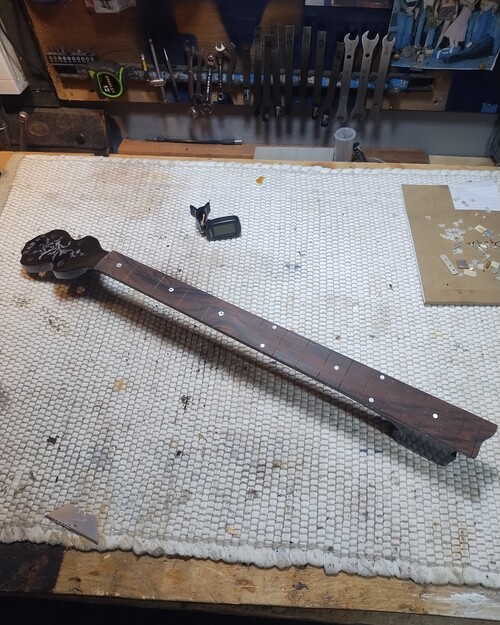
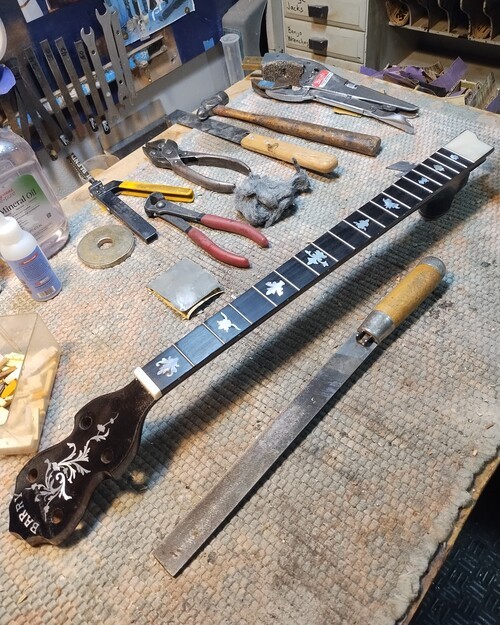
1920's Plectrum neck, with "BARRY" on the peghead
I have had it a long time and always knew where it would end up, I just did not know on what!
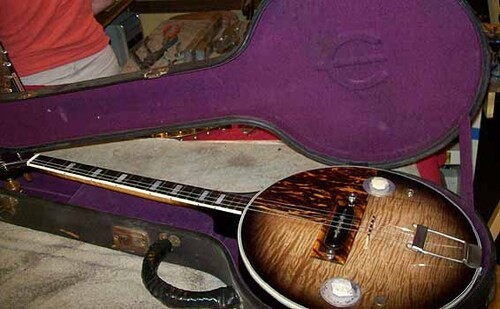
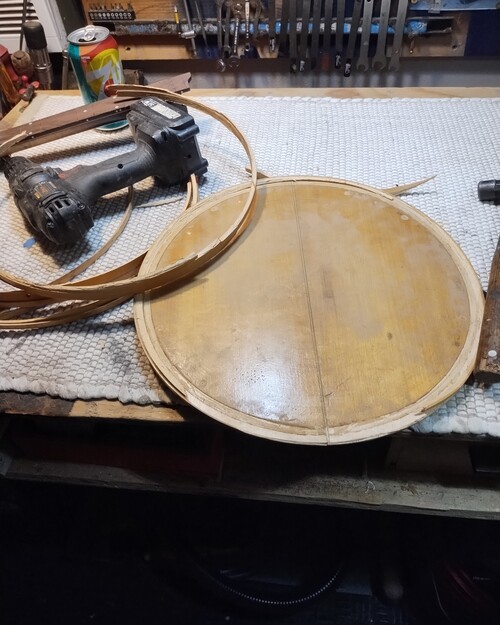
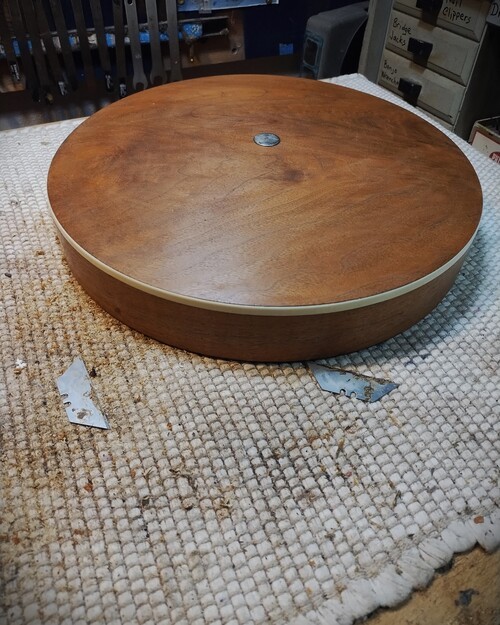
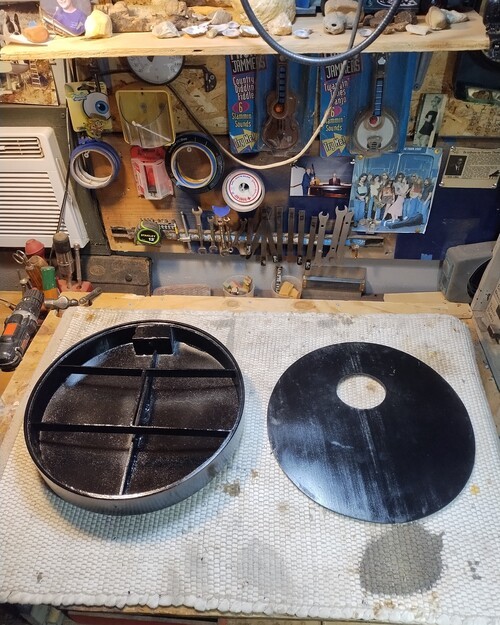
For the body-Ludwig Kingston Resonator
For the top- split back Maple- from warped 1920s resonator.
Round Tenor Guitars, nothing new .
They go back to the 1920's Examples shown above are Stromberg and Epiphone.
Made from off-the-shelf parts in my shop.
1920's Plectrum neck, with "BARRY" on the peghead
I have had it a long time and always knew where it would end up, I just did not know on what!
For the body-Ludwig Kingston Resonator
For the top- split back Maple- from warped 1920s resonator.
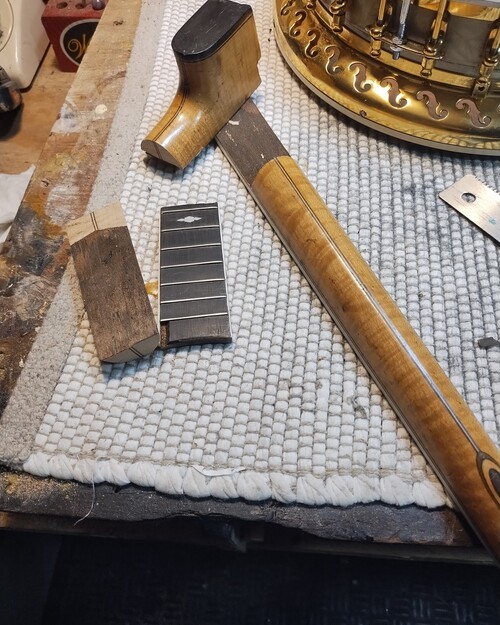
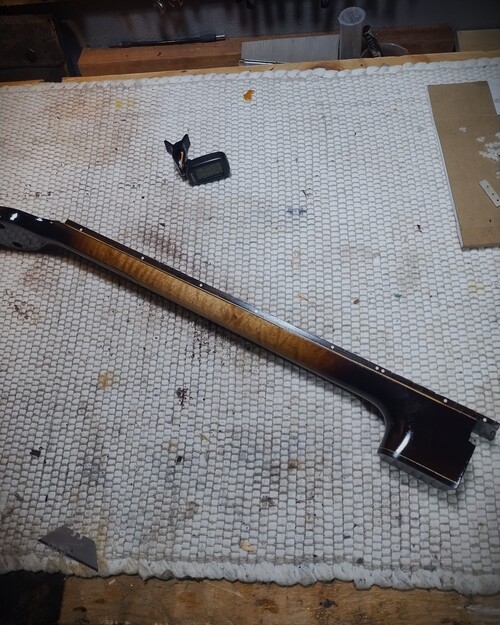
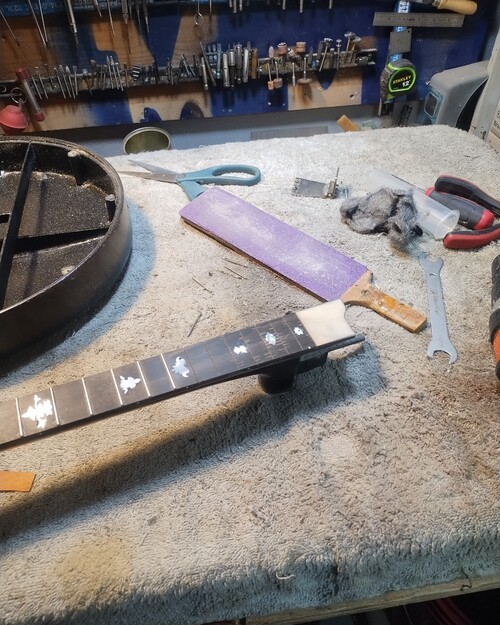
Part one
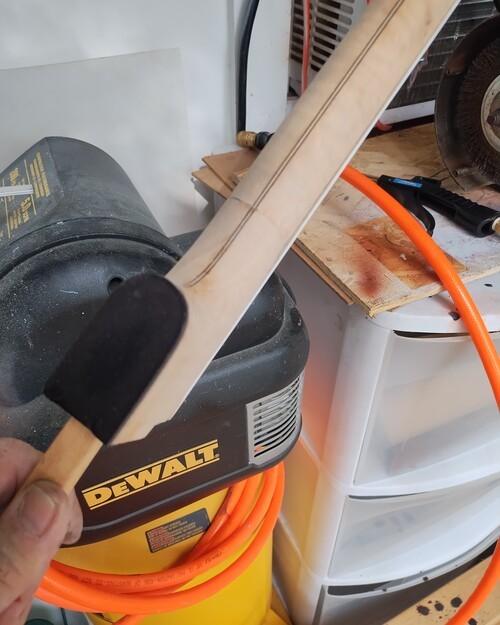
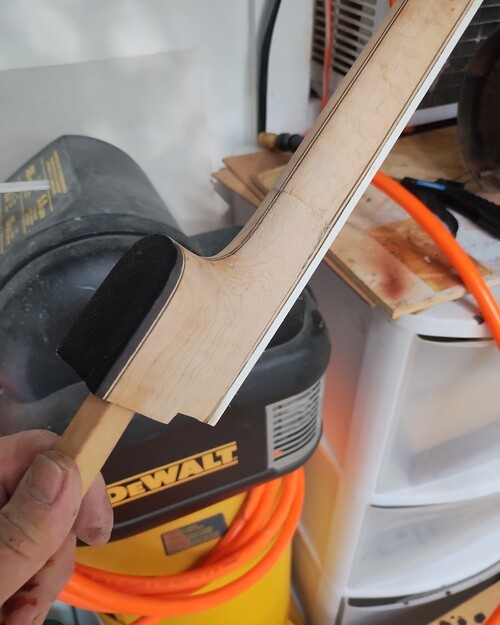
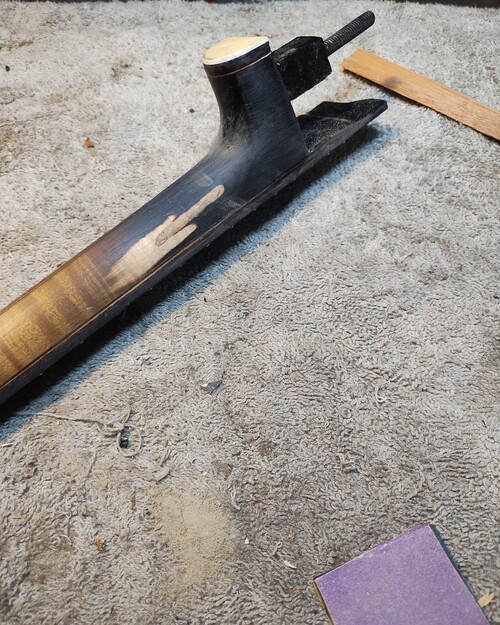
I will first cut the plectrum neck down to tenor scale.
After sectioning and glue cure, I then took off the original fingerboard and used a 1970s Strom fingerboard that was the original fingerboard from another banjo that I used the neck on, for another custom build for Mike Moe (Dog Banjo) in the early 2000s.
After that, I cut off the last frets and made it a 17 fret with a slight extension for appearance..
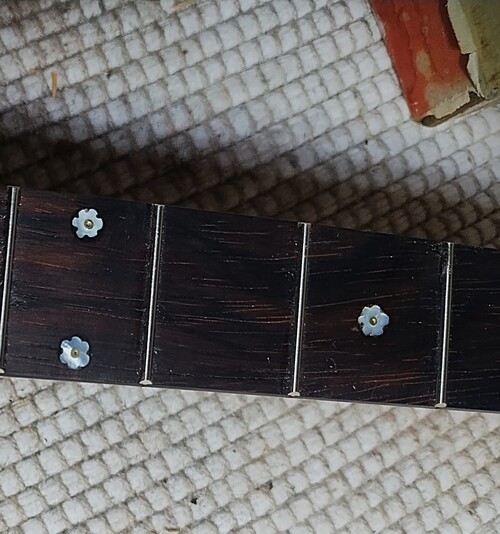
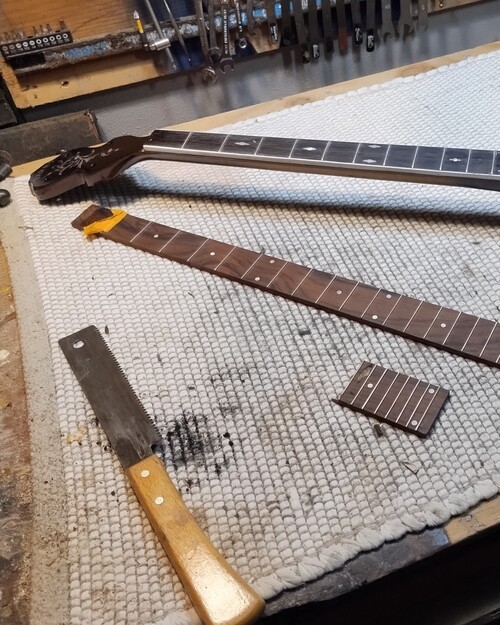
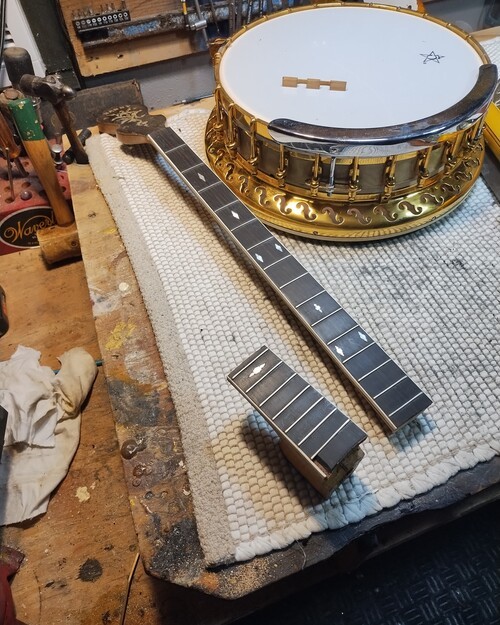
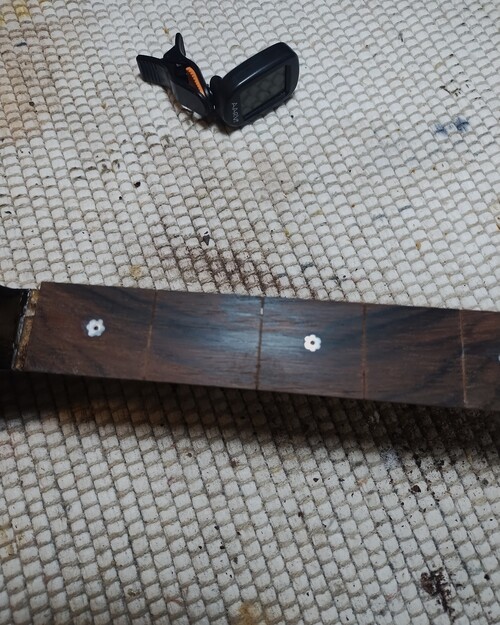
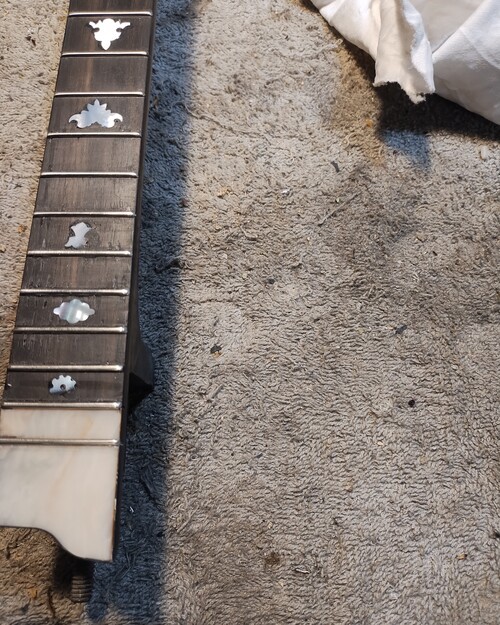
Then on the rosewood fingerboard I removed the dots and made "Flowers" with 1/64" brass tubing in the centers.
Added side markers and did a nice finish with darkening at the heel to hid the sectioning.
I will first cut the plectrum neck down to tenor scale.
After sectioning and glue cure, I then took off the original fingerboard and used a 1970s Strom fingerboard that was the original fingerboard from another banjo that I used the neck on, for another custom build for Mike Moe (Dog Banjo) in the early 2000s.
After that, I cut off the last frets and made it a 17 fret with a slight extension for appearance..
Then on the rosewood fingerboard I removed the dots and made "Flowers" with 1/64" brass tubing in the centers.
Added side markers and did a nice finish with darkening at the heel to hid the sectioning.

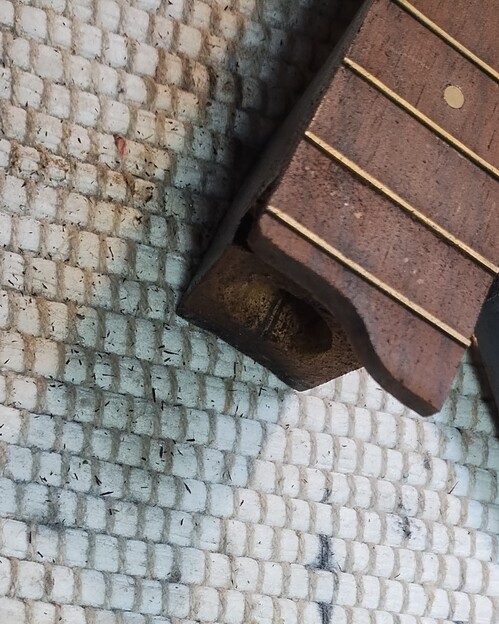
The heel will glue up into that area.

Eternal text :)
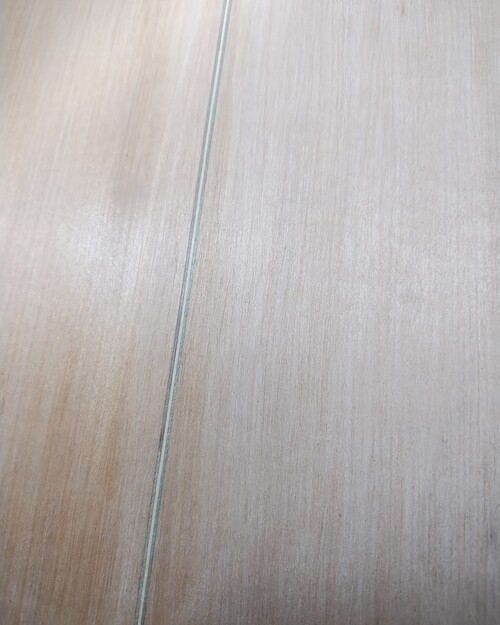
Laminates match the neck. Pure luck.
More clearcoats
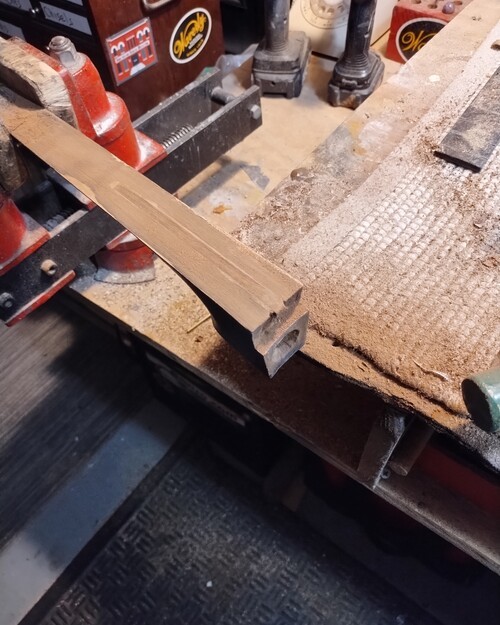
That is the length of the sectioning.
This is the board I will use, cut down.
Extension shaped.
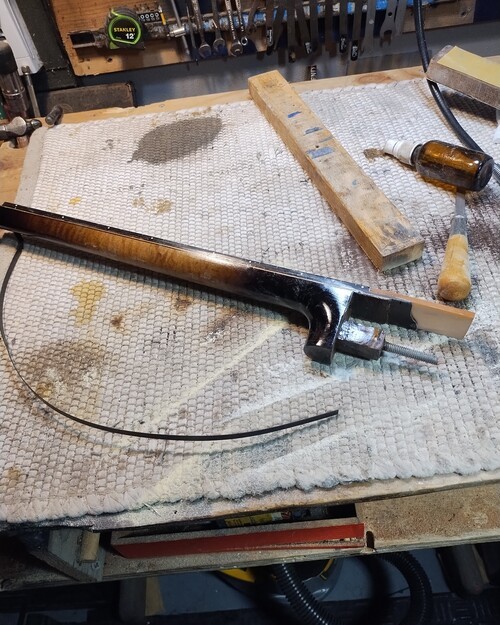
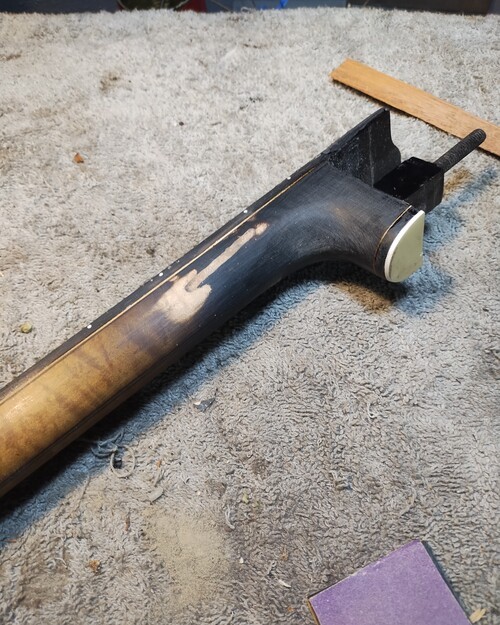
Some finish applied to the neck. Ludwig resonator.
Added side markers-3/32"
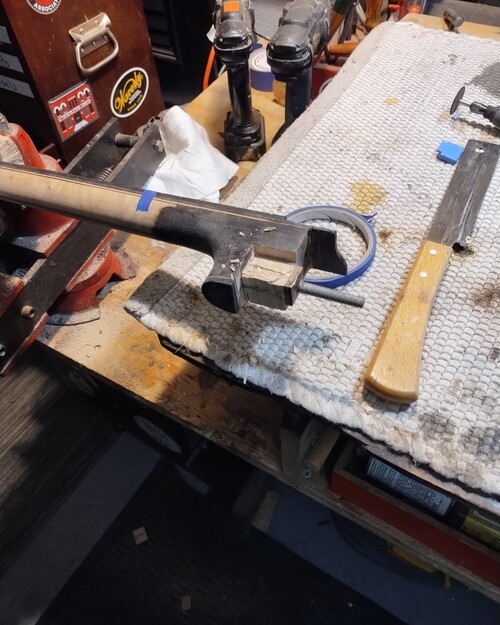
1st cut. Heel removal.
Glued up.
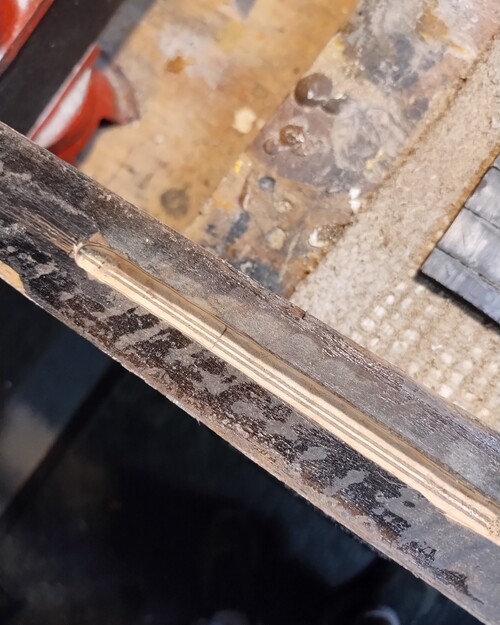
Spanning the break with billet of rosewood.
Side removal from old resonator.
Dot removal, made some little flowers.
Fretting with 147 Stew Mac.
Then a sectional cut, leaving fingerboard for now.
Finish removed.
Leveled and solid again
Smoothing it up, this is the old inside.
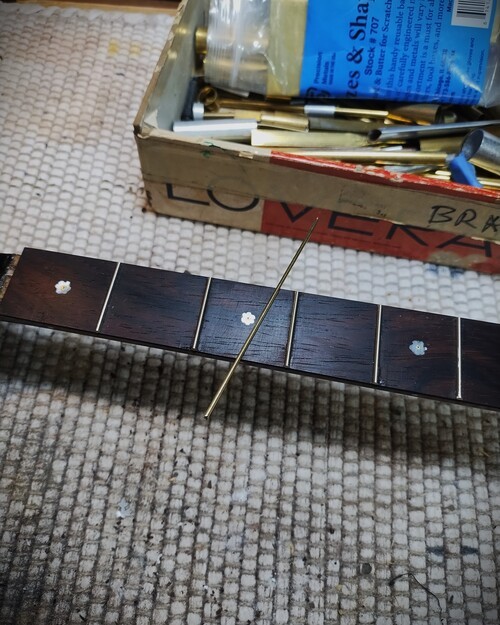
1/64" brass tube, for deco inside of the flowers.
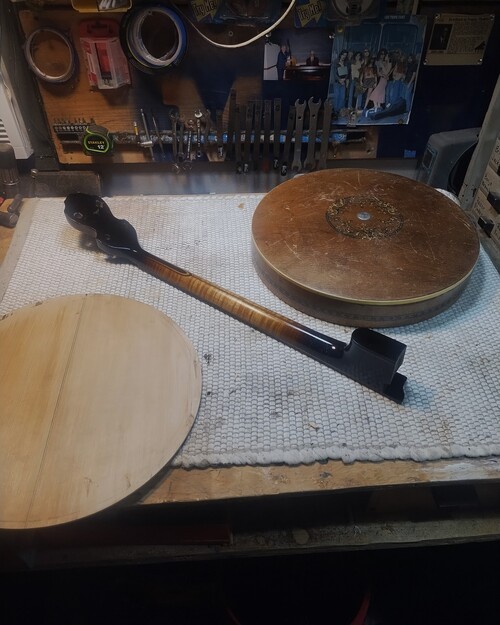
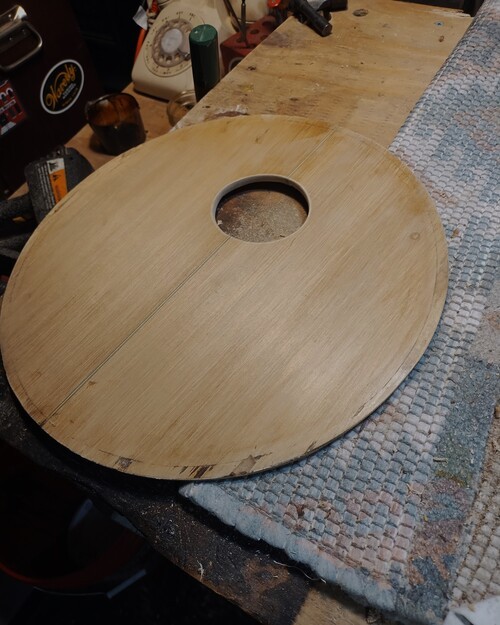
Part Two
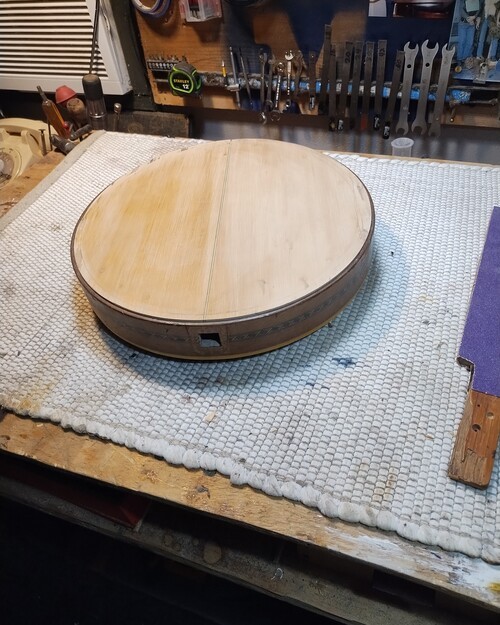
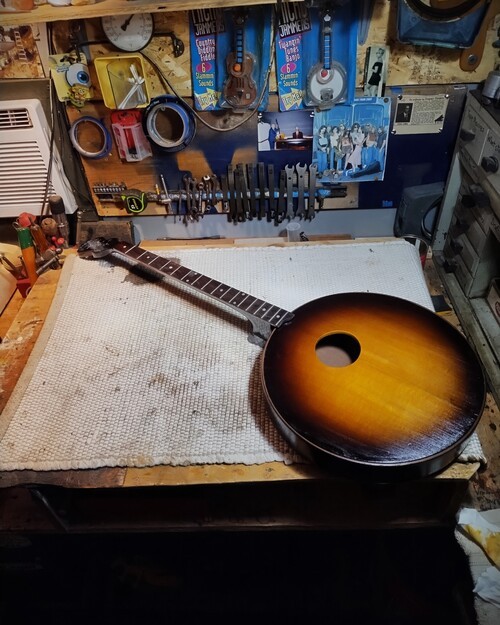
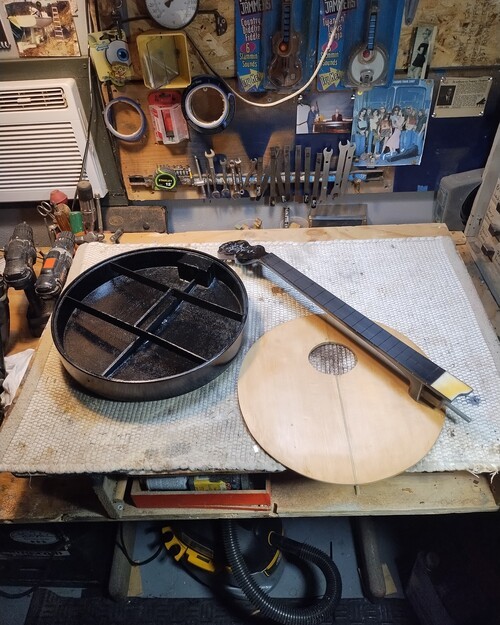
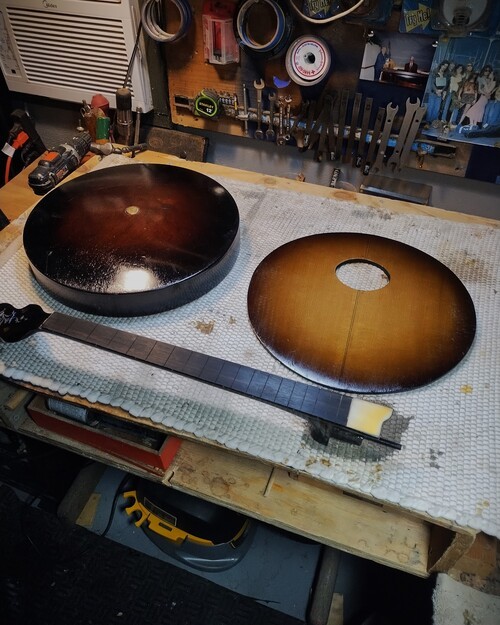
Working on the body and top.
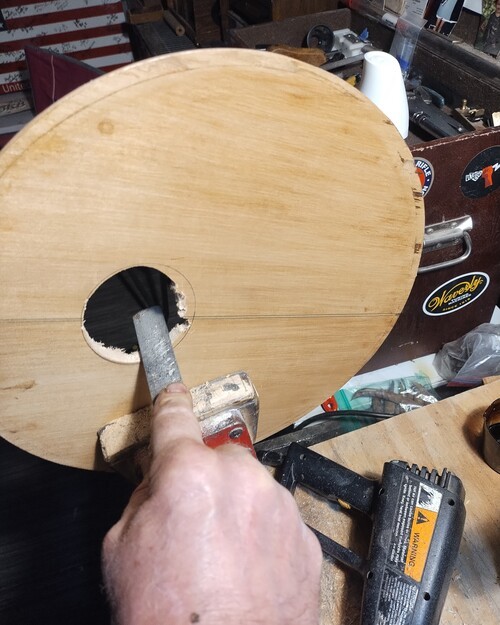
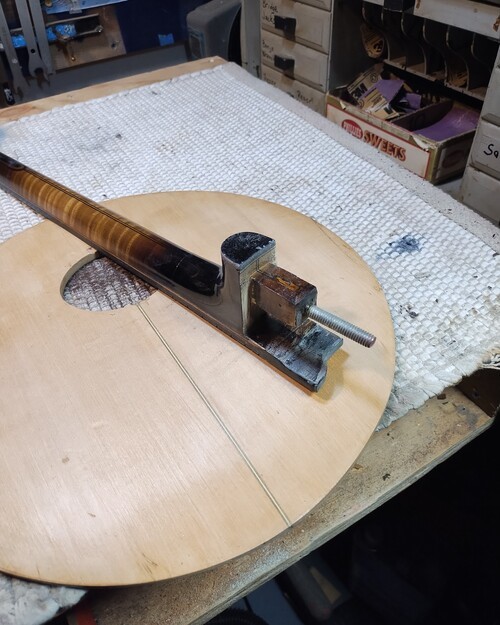
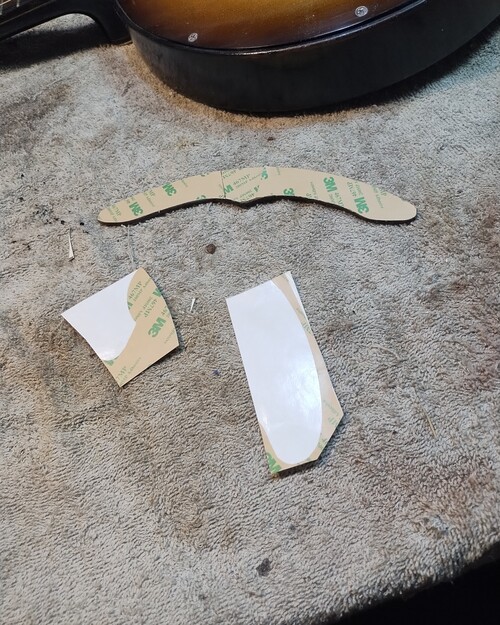
Routing an oval hole, adding some finish to get a look at what I want there.
Setting the dowel, more finish.
Next will be checking the playability to see where it is so far.
Working on the body and top.
Routing an oval hole, adding some finish to get a look at what I want there.
Setting the dowel, more finish.
Next will be checking the playability to see where it is so far.
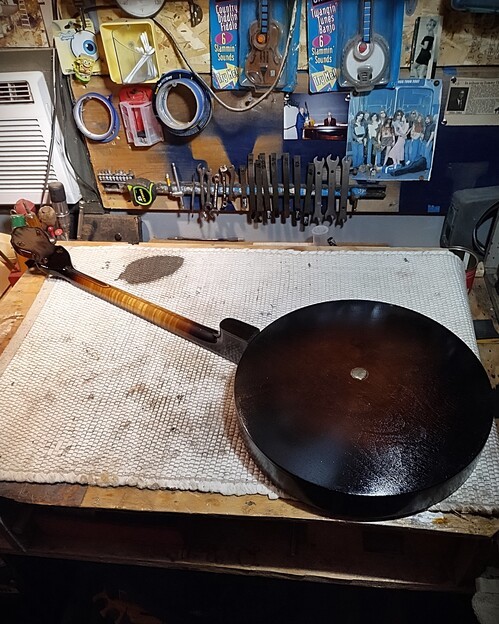
Stripped and ready for tint.
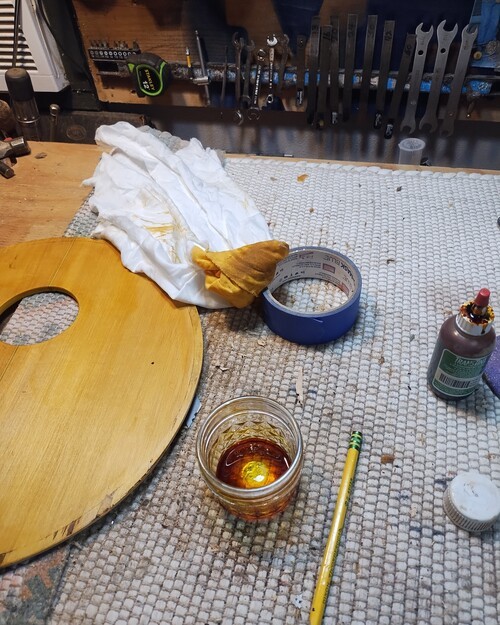
Honey amber as the main tint.
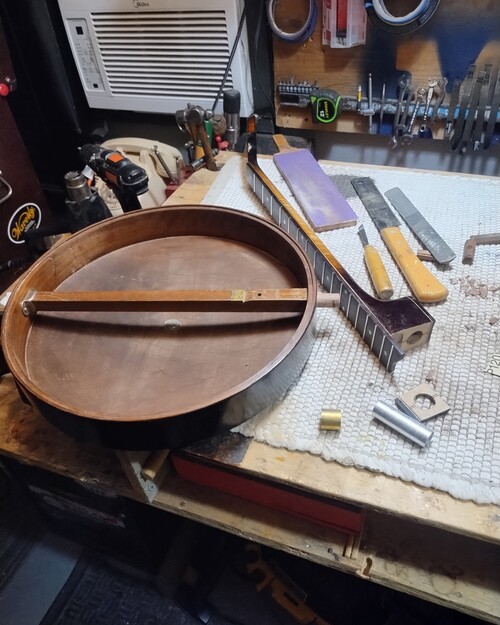
Heel cut made, making bushings for dowel tenon
Now back to other work for a while.
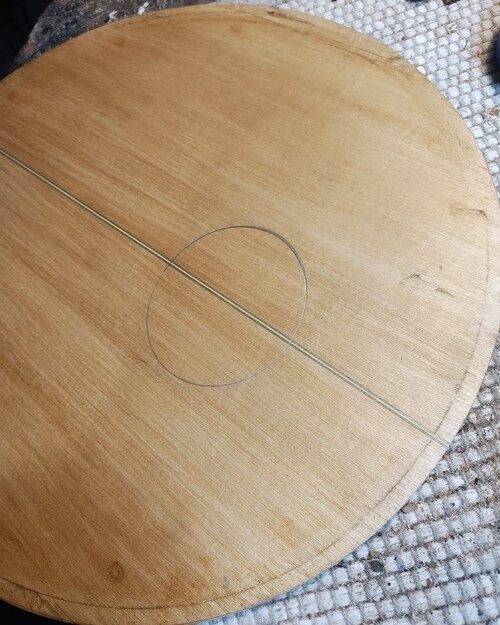
I will make an oval hole.
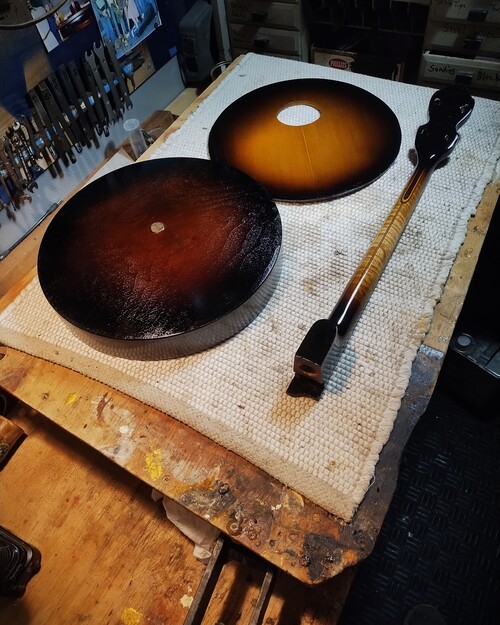
Everything tinted, now taking on clear coats.
This will now fit the 1/2" tenon.
Roughing in with rasps.
Grain will disappear as clear is added.
Flange lip routed to depth for wood top;
Edge ugliness will be hidden in a sunburst.
Still adding finish as I work on mechanics.
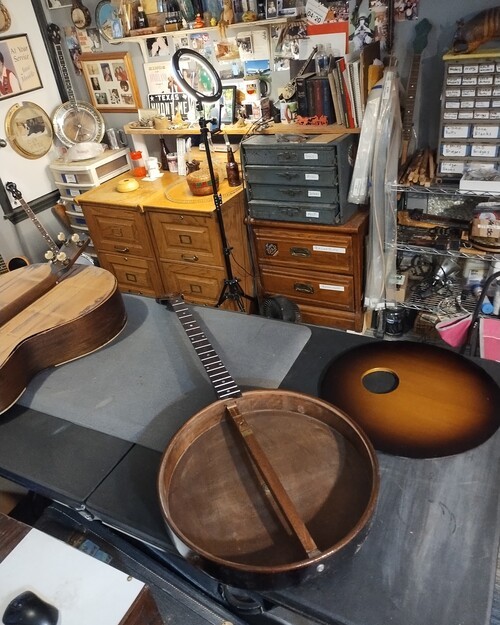
Part 3 "Changing gears"
1st gear...
I was not happy with a few things so I reversed course.
It is not about how you run the race, it is all about how you cross the "finish" line.
So here we go.
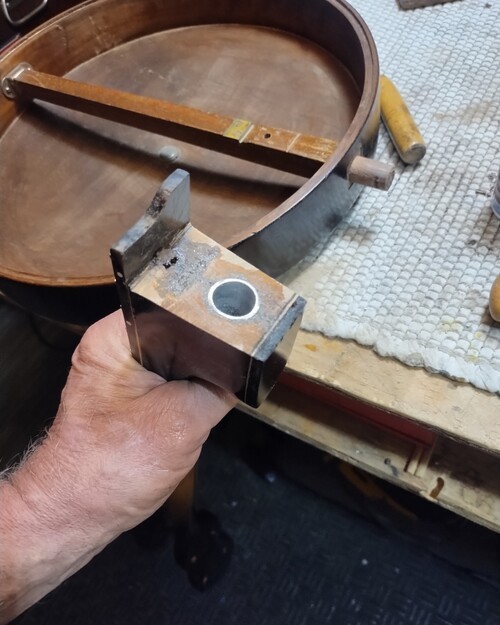
I did not like the dowel stick setup and wanted to keep the neck to where it could be removed mechanically, not a neck block/fixed heel.
So I cut the dowel and made a neck block for rigidity and for something I could run the 5/16" All-thread neck attachment lag through.
Then I made the neck block (TJ will know what I used) and some light bracing and then an end block from 2 pieces of radiused maple, connected by an unseen center block.
1st gear...
I was not happy with a few things so I reversed course.
It is not about how you run the race, it is all about how you cross the "finish" line.
So here we go.
I did not like the dowel stick setup and wanted to keep the neck to where it could be removed mechanically, not a neck block/fixed heel.
So I cut the dowel and made a neck block for rigidity and for something I could run the 5/16" All-thread neck attachment lag through.
Then I made the neck block (TJ will know what I used) and some light bracing and then an end block from 2 pieces of radiused maple, connected by an unseen center block.


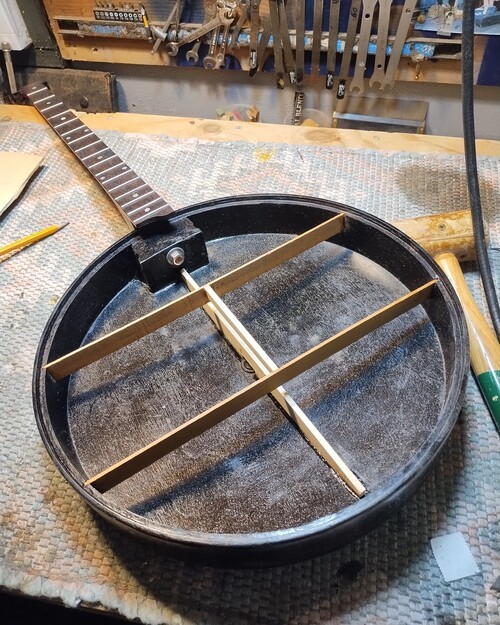


"Power shift" into 2nd gear...
Next , I had to recover from a missed calculation on fret scale that was totally my bad.
The fingerboard I chose which was shortened...
I did that cut from the wrong freaking end.
So that made my bridge placement choice way off.
Rookie move, caught it too late. Oh well.
The Recovery :
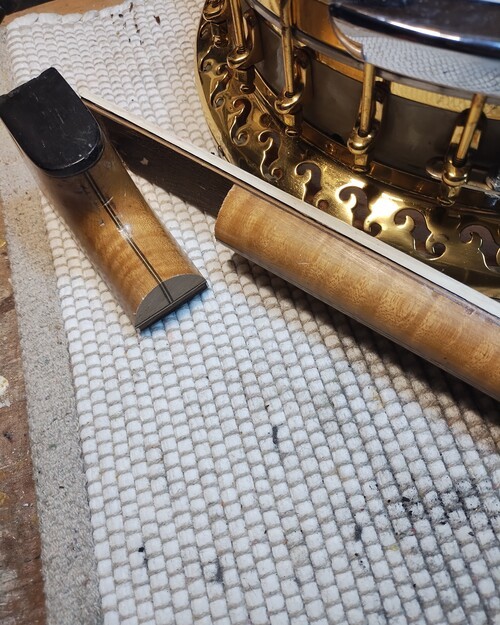
R&R fingerboard, using a rosewood blank sliced for 22.5 scale.
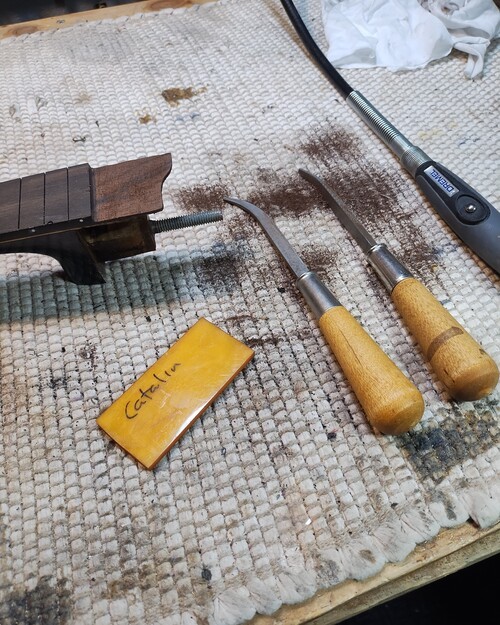
I still still have an extension, made with a block of Catalin thermoplastic.
I then bound it in black to match the fingerboard side.
Added side markers.
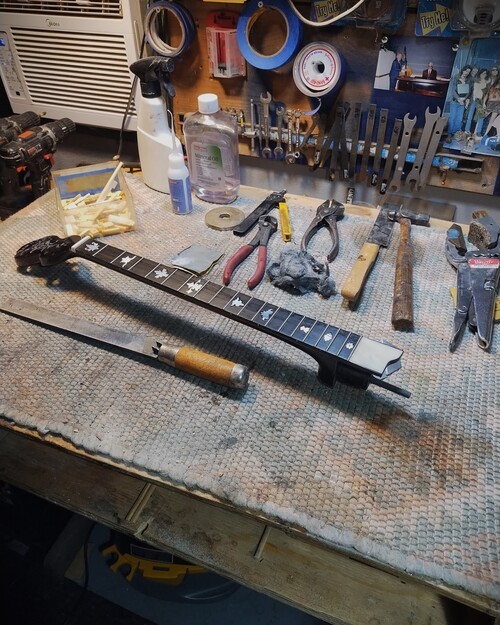
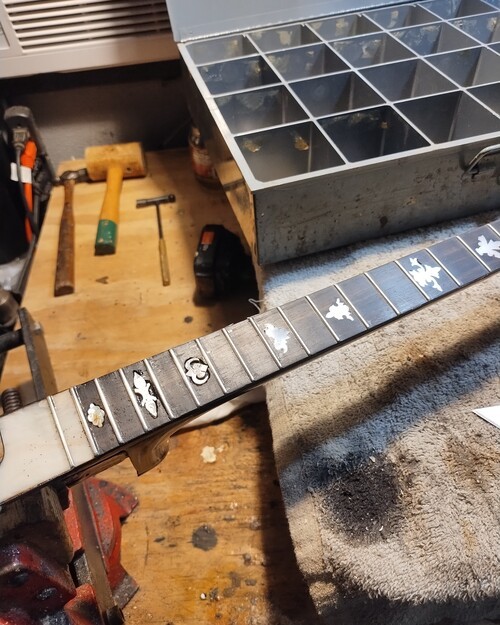
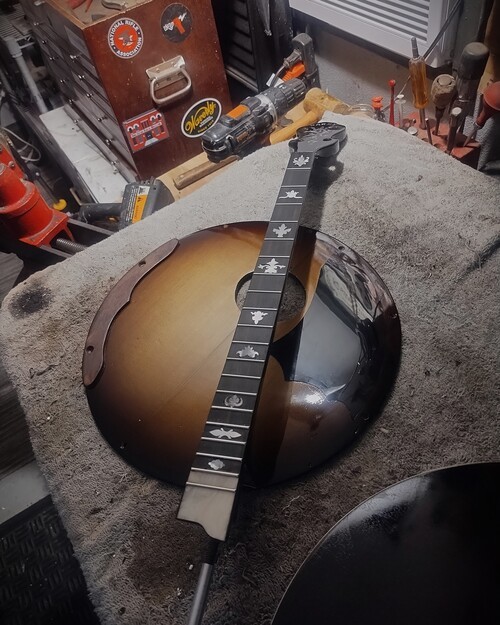
Then - frets and inlay.
Inlay was upscaled to things I found in my oyster graveyard. (Inlay box)
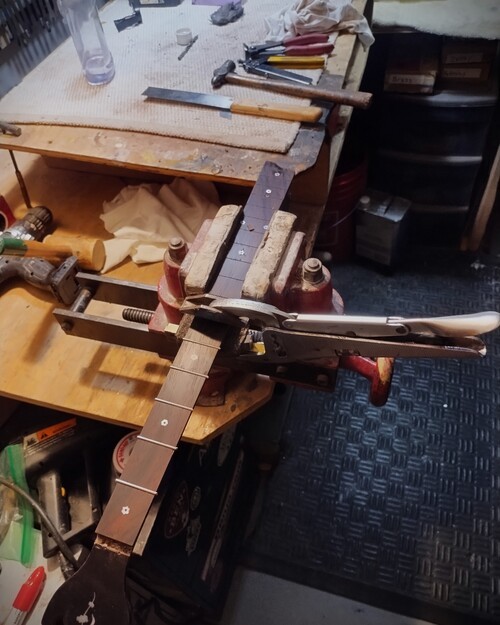
So out comes my "Sure Form" and what once was a completed and inlayed fingerboard, will be rasped the H--- off.
The heel will had a radical change to make the neck drift inward into the body to get what I will end up needing for bridge placement.
A lot of handpiece/ flush cut saw work.
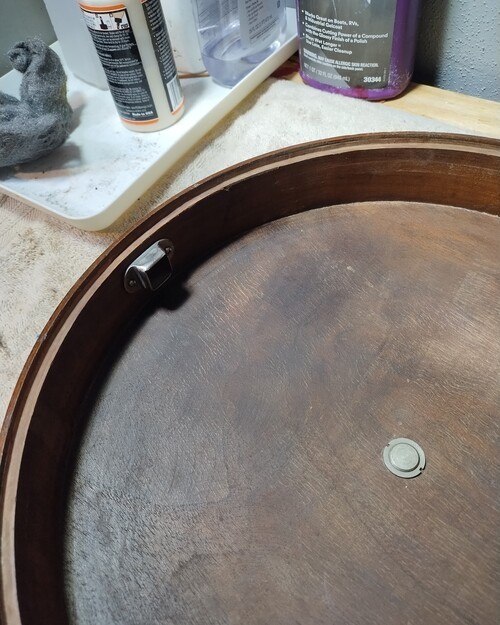
During all of that I was finishing up the inside of the body in black and adding clear to the outside.
ONWARD!
Next , I had to recover from a missed calculation on fret scale that was totally my bad.
The fingerboard I chose which was shortened...
I did that cut from the wrong freaking end.
So that made my bridge placement choice way off.
Rookie move, caught it too late. Oh well.
The Recovery :
R&R fingerboard, using a rosewood blank sliced for 22.5 scale.
I still still have an extension, made with a block of Catalin thermoplastic.
I then bound it in black to match the fingerboard side.
Added side markers.
Then - frets and inlay.
Inlay was upscaled to things I found in my oyster graveyard. (Inlay box)
So out comes my "Sure Form" and what once was a completed and inlayed fingerboard, will be rasped the H--- off.
The heel will had a radical change to make the neck drift inward into the body to get what I will end up needing for bridge placement.
A lot of handpiece/ flush cut saw work.
During all of that I was finishing up the inside of the body in black and adding clear to the outside.
ONWARD!

Beginning heel reduction.
Cut to the chase...done.

The new look,
That was a fingerboard 30 min ago :(


Ready to install extension.

Ready for inlay / frets.


All I have to say to this project is this.
"When you hit me in the face that hard you better hope you knock me out."
Guess who is laying on the bench going "What happened " ?
"When you hit me in the face that hard you better hope you knock me out."
Guess who is laying on the bench going "What happened " ?
Next Sequence
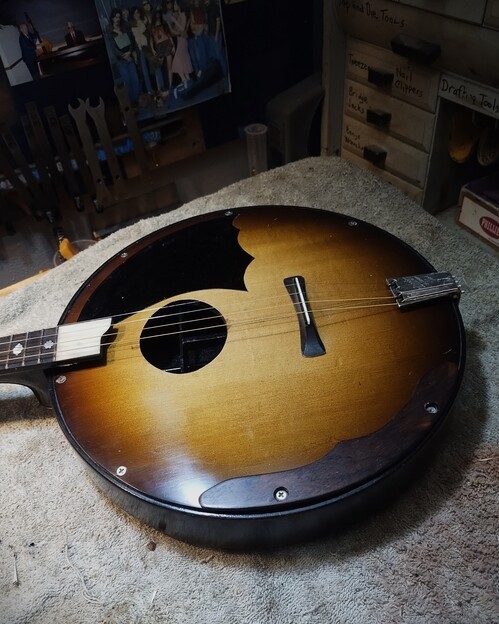
I took a broken Ludwig tailpiece with no string pins and repaired it, added new pins.
Then put on some pegs, strung it up to pitch.
No issues anywhere and it will be able to be dialed in to be a VG player.
I fabricated a bridge with a bone saddle that looks good on it.
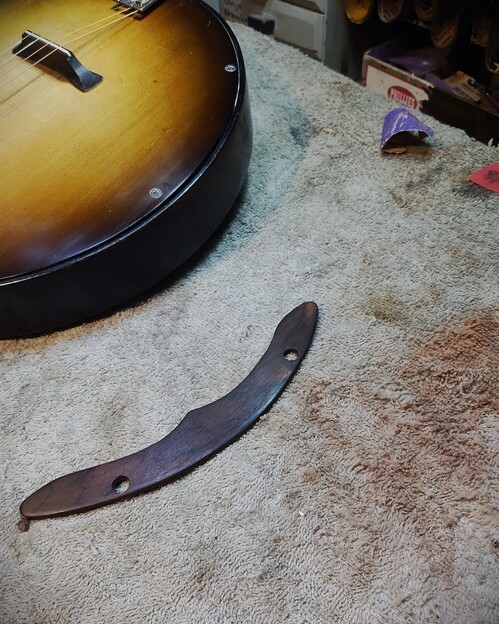
Then I made a pick guard from black celluloid and an armrest from a piece of re-purposed rosewood fingerboard.
I used 3M double stick adhesive and drilled holes for the top screws.
So now it can get tweaked until Barry gets here in Dec to pick it up and add it to his already extensive collection of instruments that I conjure up out of my mind.
We have had quite a flight together, with many unscheduled stops!
I took a broken Ludwig tailpiece with no string pins and repaired it, added new pins.
Then put on some pegs, strung it up to pitch.
No issues anywhere and it will be able to be dialed in to be a VG player.
I fabricated a bridge with a bone saddle that looks good on it.
Then I made a pick guard from black celluloid and an armrest from a piece of re-purposed rosewood fingerboard.
I used 3M double stick adhesive and drilled holes for the top screws.
So now it can get tweaked until Barry gets here in Dec to pick it up and add it to his already extensive collection of instruments that I conjure up out of my mind.
We have had quite a flight together, with many unscheduled stops!

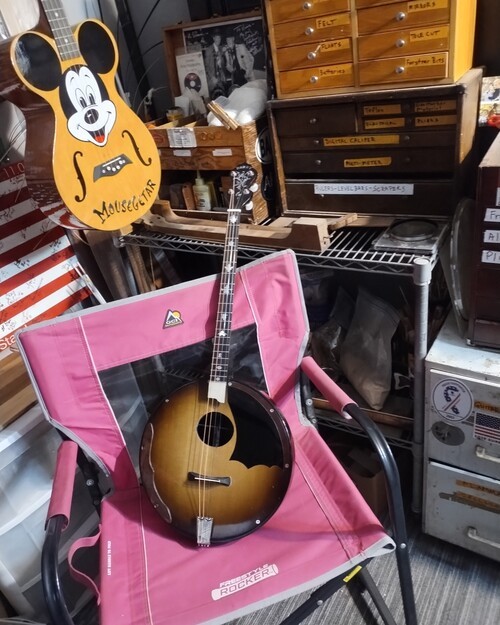


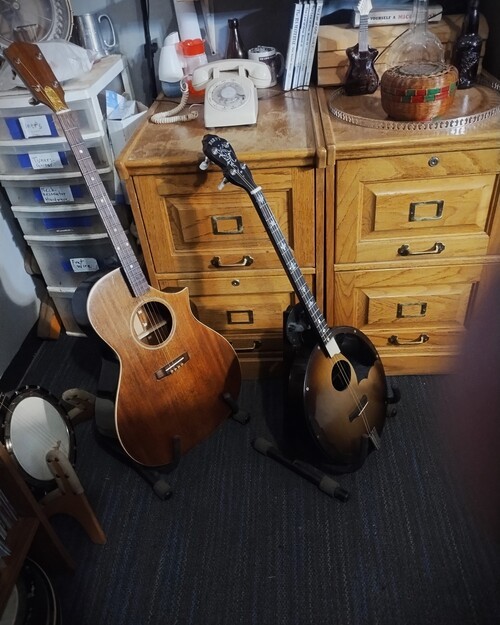
I finished my TGC-0 on the same day.
Final Sequence
After being at tension 3 days I saw a finish crack at the repair junction and also I was not happy with the end of the fingerboard, it showed a hump in it so I pulled a few frets, leveled that area a little and added 2 carbide reinforcements to the joinery.
Then I just refretted, added 3 different inlays that got thin on the leveling and refinished that area.
Better to see it now than later.


Thanks for looking and sharing,
VM
VM